Getting Started
1. Set up your tracking domain
Create a custom tracking domain and point a CNAME to package.leadjourney.io – the foundation for first-party, server-side tracking.
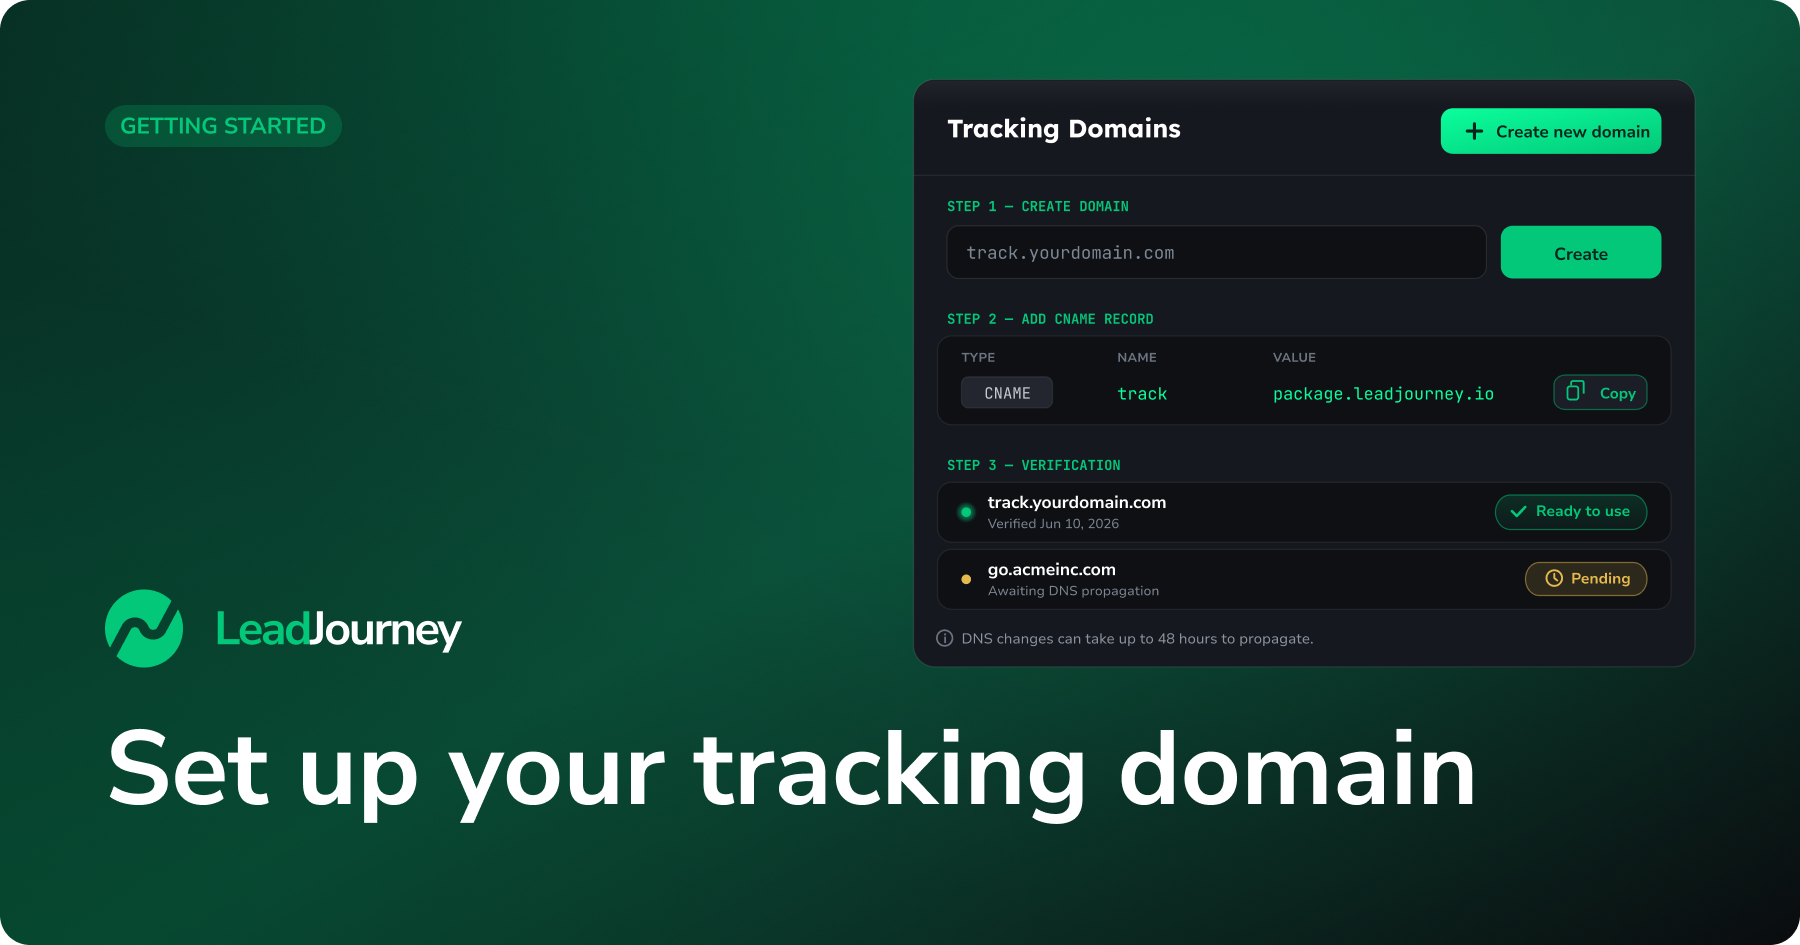
This is step 1 of getting started with LeadJourney. Before you can install the tracking script, you create a custom tracking domain – a subdomain of your own website that you point to LeadJourney. Everything LeadJourney records flows through this domain.
Why a custom tracking domain?
Loading tracking from your own domain makes it first-party. That means it runs server-side, is far more resilient to ad blockers and browser tracking restrictions, and loads faster than a generic third-party tag. In practice: more of your real leads actually get tracked.
What you'll learn
- How to create a tracking domain in LeadJourney
- Which DNS record to add and where it points
- How to confirm the domain is verified and ready to use
Prerequisites
An active LeadJourney account with access to the Tracking settings, and access to your domain's DNS provider (e.g. Cloudflare, GoDaddy, IONOS, Namecheap, your hoster).
Step by step
Open the tracking settings
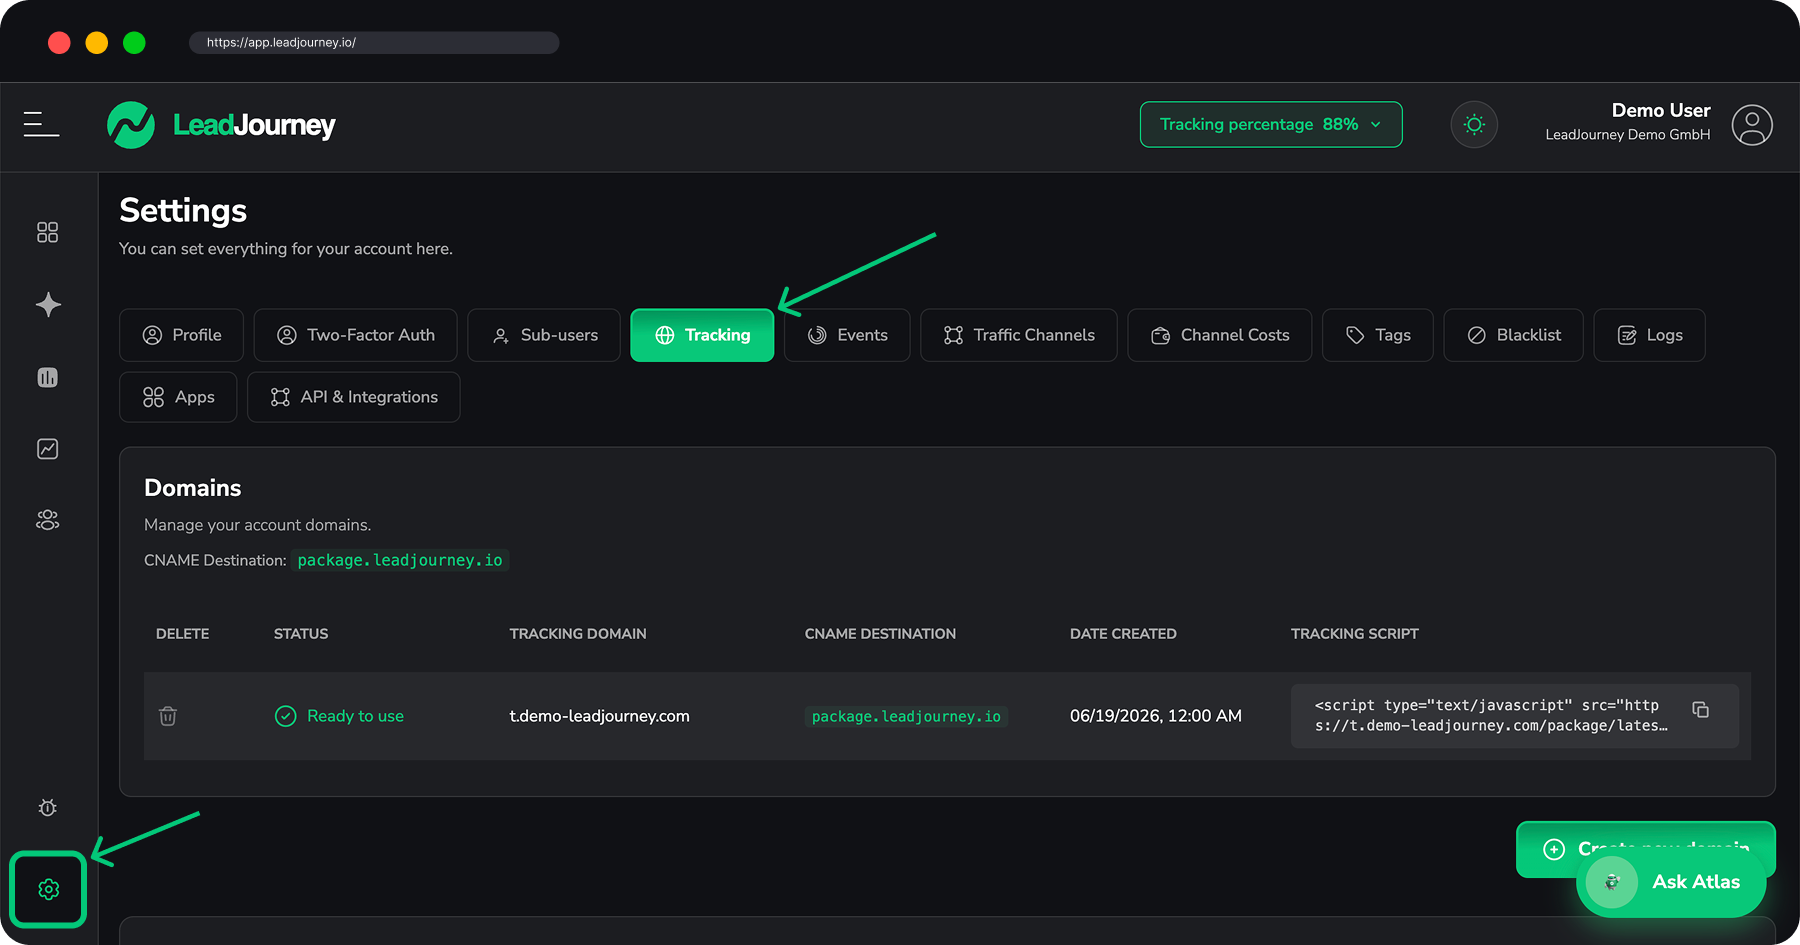
In LeadJourney, open Settings → Tracking. This is where all your tracking domains are managed.
Create a new domain
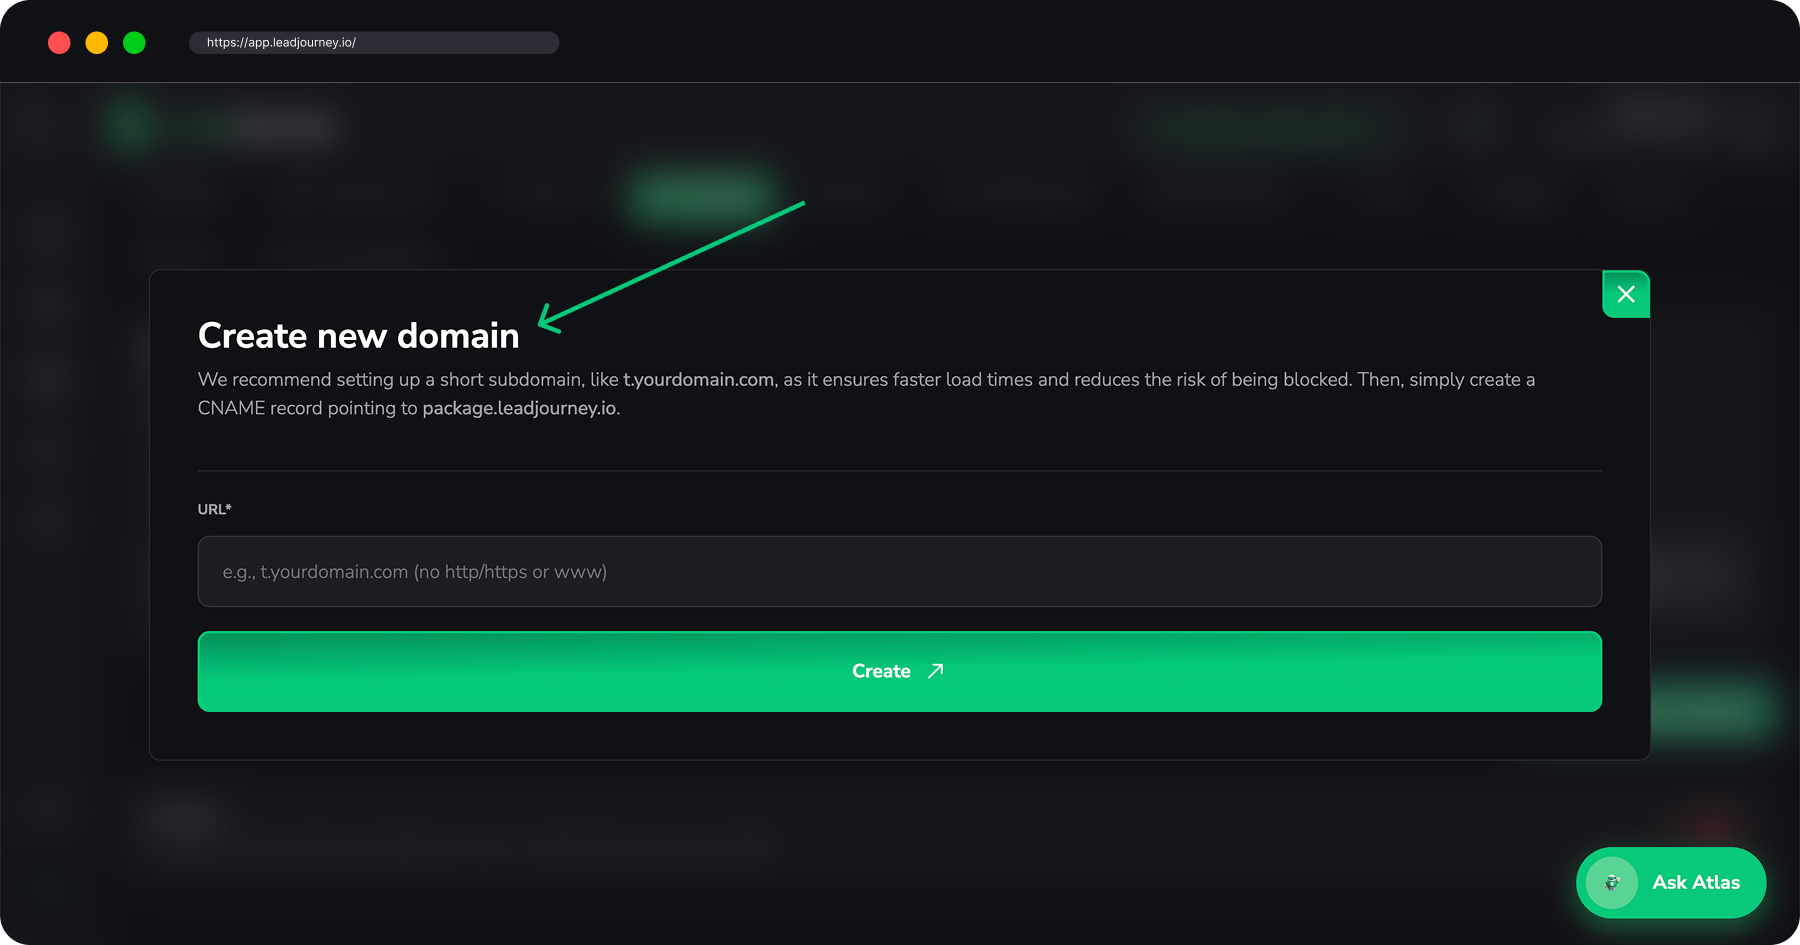
Click Create new domain and enter the subdomain you want to use – for example
track.yourdomain.com.
Use a dedicated subdomain
We recommend a short subdomain such as track.yourdomain.com or t.yourdomain.com. A
dedicated subdomain loads faster and reduces the risk of being blocked. Enter the domain
only – no https://, no www. and no paths (/...).
Add the CNAME record at your DNS provider
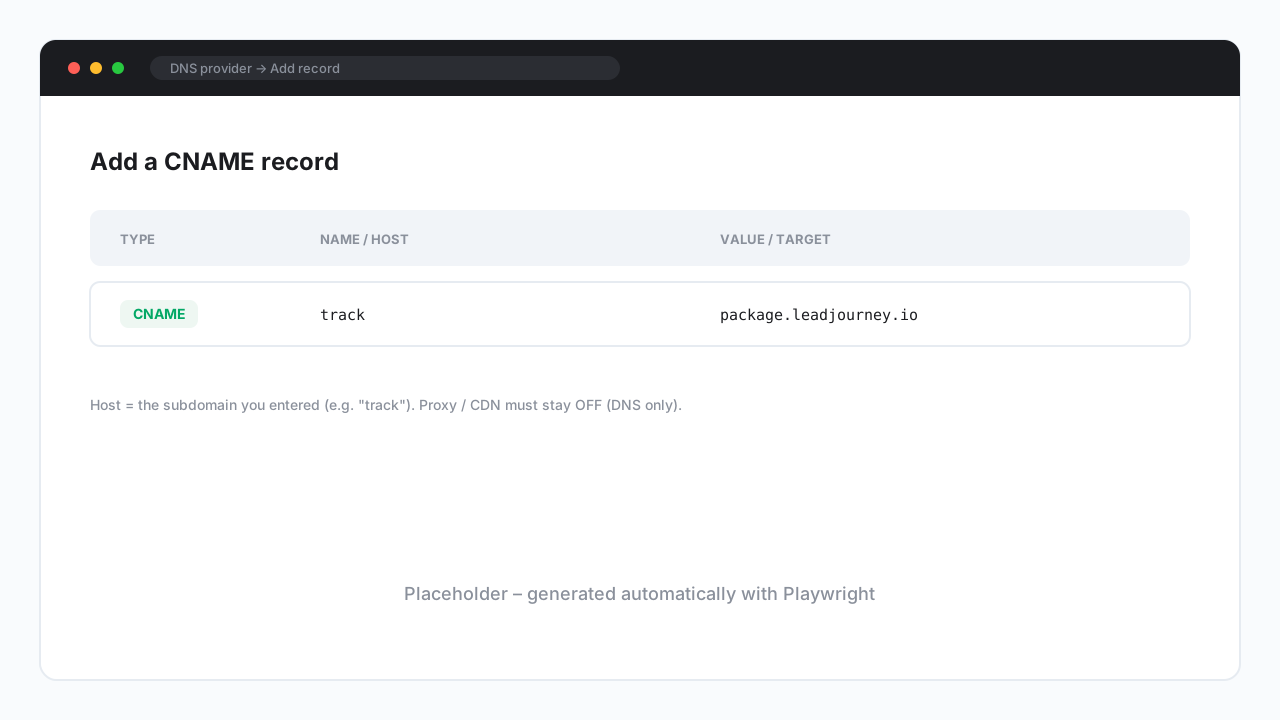
In your DNS provider, create a CNAME record that points your subdomain to
package.leadjourney.io.
| Type | Name / Host | Value / Target |
|---|---|---|
| CNAME | track (your subdomain) | package.leadjourney.io |
DNS → Records → Add record. Type CNAME, Name track, Target
package.leadjourney.io.
Set the proxy status to DNS only (grey cloud, not orange). The orange-cloud proxy breaks the tracking domain.
My Products → DNS → Add. Type CNAME, Host track, Points to
package.leadjourney.io, TTL 1 hour.
Add a record of type CNAME with the host/name set to your subdomain (e.g. track)
and the value/target set to package.leadjourney.io. Leave TTL at the default. Don't
enable any proxy/CDN in front of it.
Wait for verification
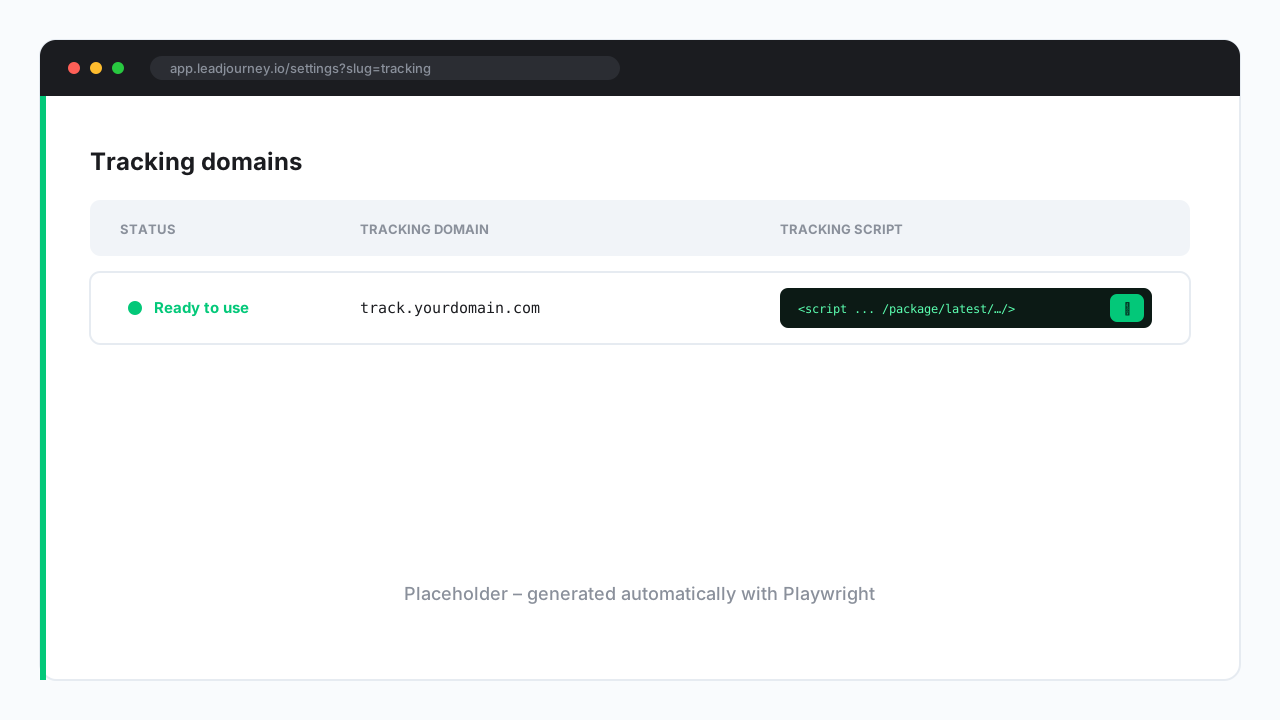
Back in Settings → Tracking, the domain first shows the status Pending. Once your DNS change has propagated, LeadJourney verifies it automatically and the status turns to Ready to use.
This can take a little while
DNS changes usually propagate within minutes, but it can take up to 48 hours. If the status shows Failed, double-check the CNAME and press the Retry button.
Domain stuck on Pending or Failed?
Make sure the record type is CNAME (not A), the host is exactly your subdomain, and
the target is package.leadjourney.io with no trailing slash. On Cloudflare, the record
must be DNS only. After fixing it, press Retry in the tracking settings. If you
added the DNS record days after creating the domain, see
Tracking domain not verifying? Press Retry.
Common questions
Next step
You're ready for step 2
As soon as your domain is Ready to use, continue with Install the tracking script to activate tracking on your pages.
Related articles
Affiliate setup guide
The complete walkthrough for affiliate marketers – set up a LeadJourney workspace, connect your ad platforms, add your networks, offers and campaigns, and see true ROI per campaign, offer and network.
2. Install the tracking script
Add the LeadJourney tracking script to every landing page, domain and subdomain – step by step.