Getting Started
Quickstart
The fastest path from a fresh LeadJourney workspace to real attribution – set up your profile, connect your ad platforms, get tracking live, and start sending conversions. Follow the in-app setup wizard, step by step.
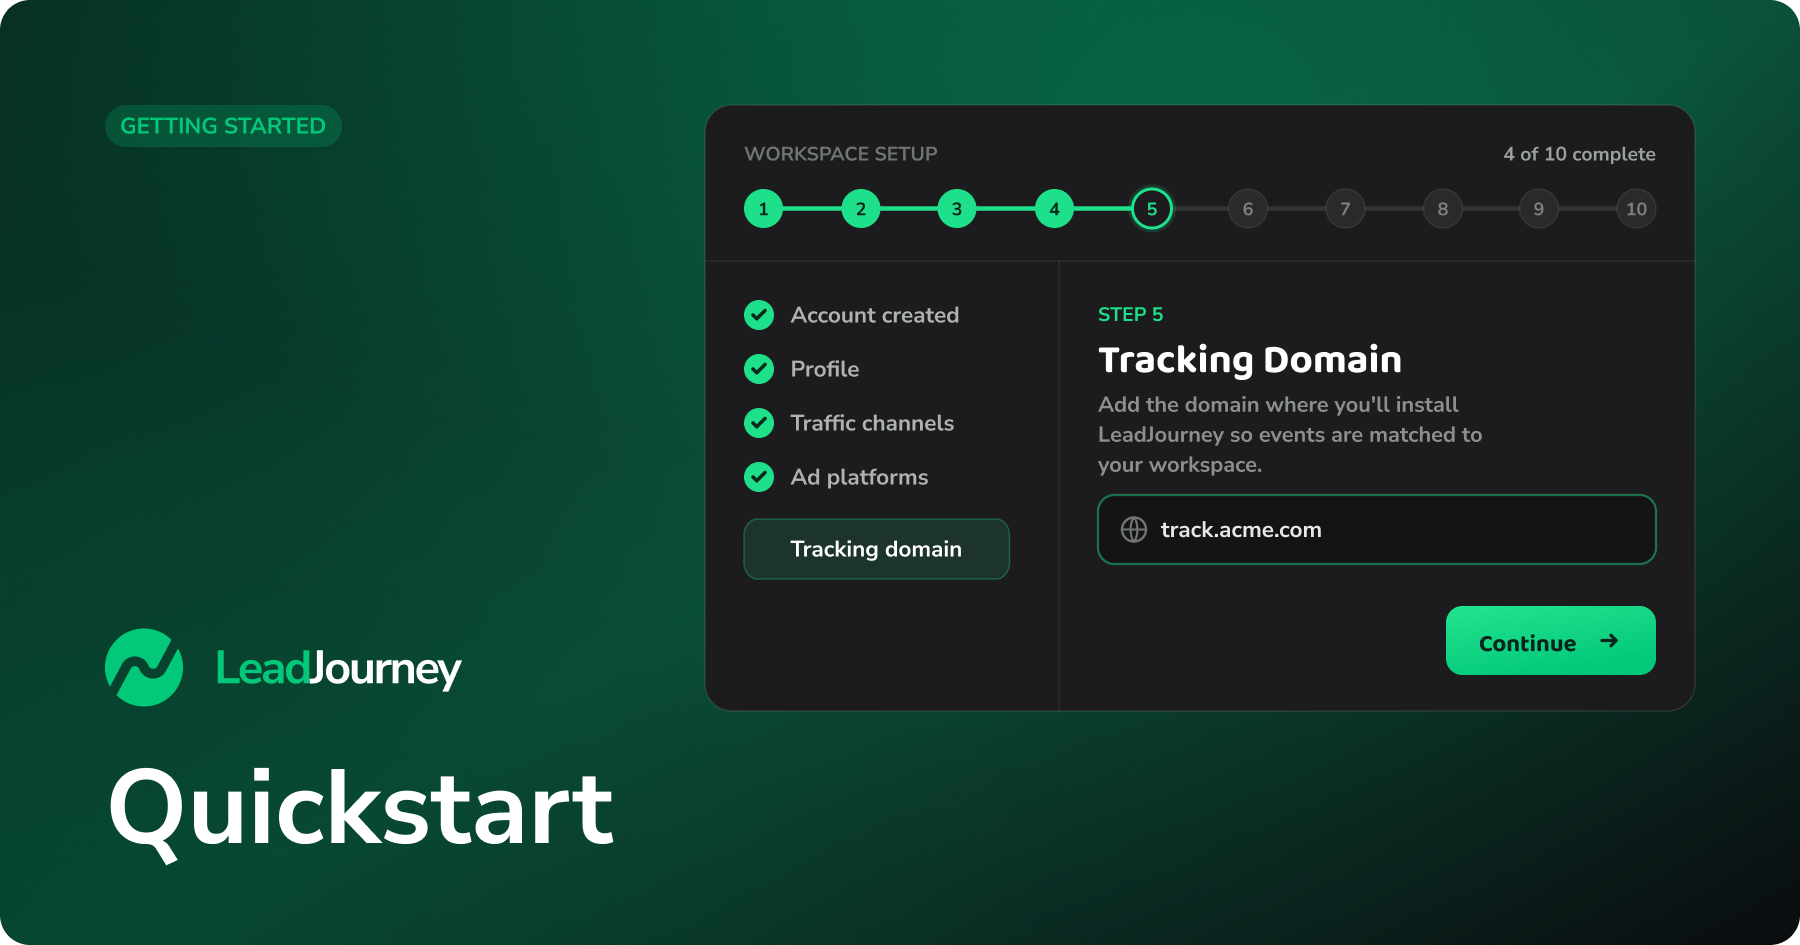
This is the short version of getting LeadJourney up and running. When you first sign in, LeadJourney walks you through a setup wizard that covers everything below – this page is the map so you know what's coming and why each step matters.
The goal
Get to the point where every paid click is tracked and every important outcome (lead, booked call, won deal) flows back in – that's when LeadJourney can show true cost per lead and ROI per campaign.
Promoting affiliate offers?
Follow the Affiliate setup guide instead – the same foundation, tailored to redirect links, networks, offers and commission postbacks.
The setup wizard
The wizard tracks your progress and you can leave and resume at any time. The steps are:
Step by step
1. Account created · 2. Profile (company, time zone, currency, date format) · 3. Traffic channels · 4. Ad platforms · 5. Tracking domain · 6. Tracking script · 7. CRM events · 8. Hidden fields · 9. CRM webhooks · 10. Verify & learn
Here's what each step does and where to go deeper.
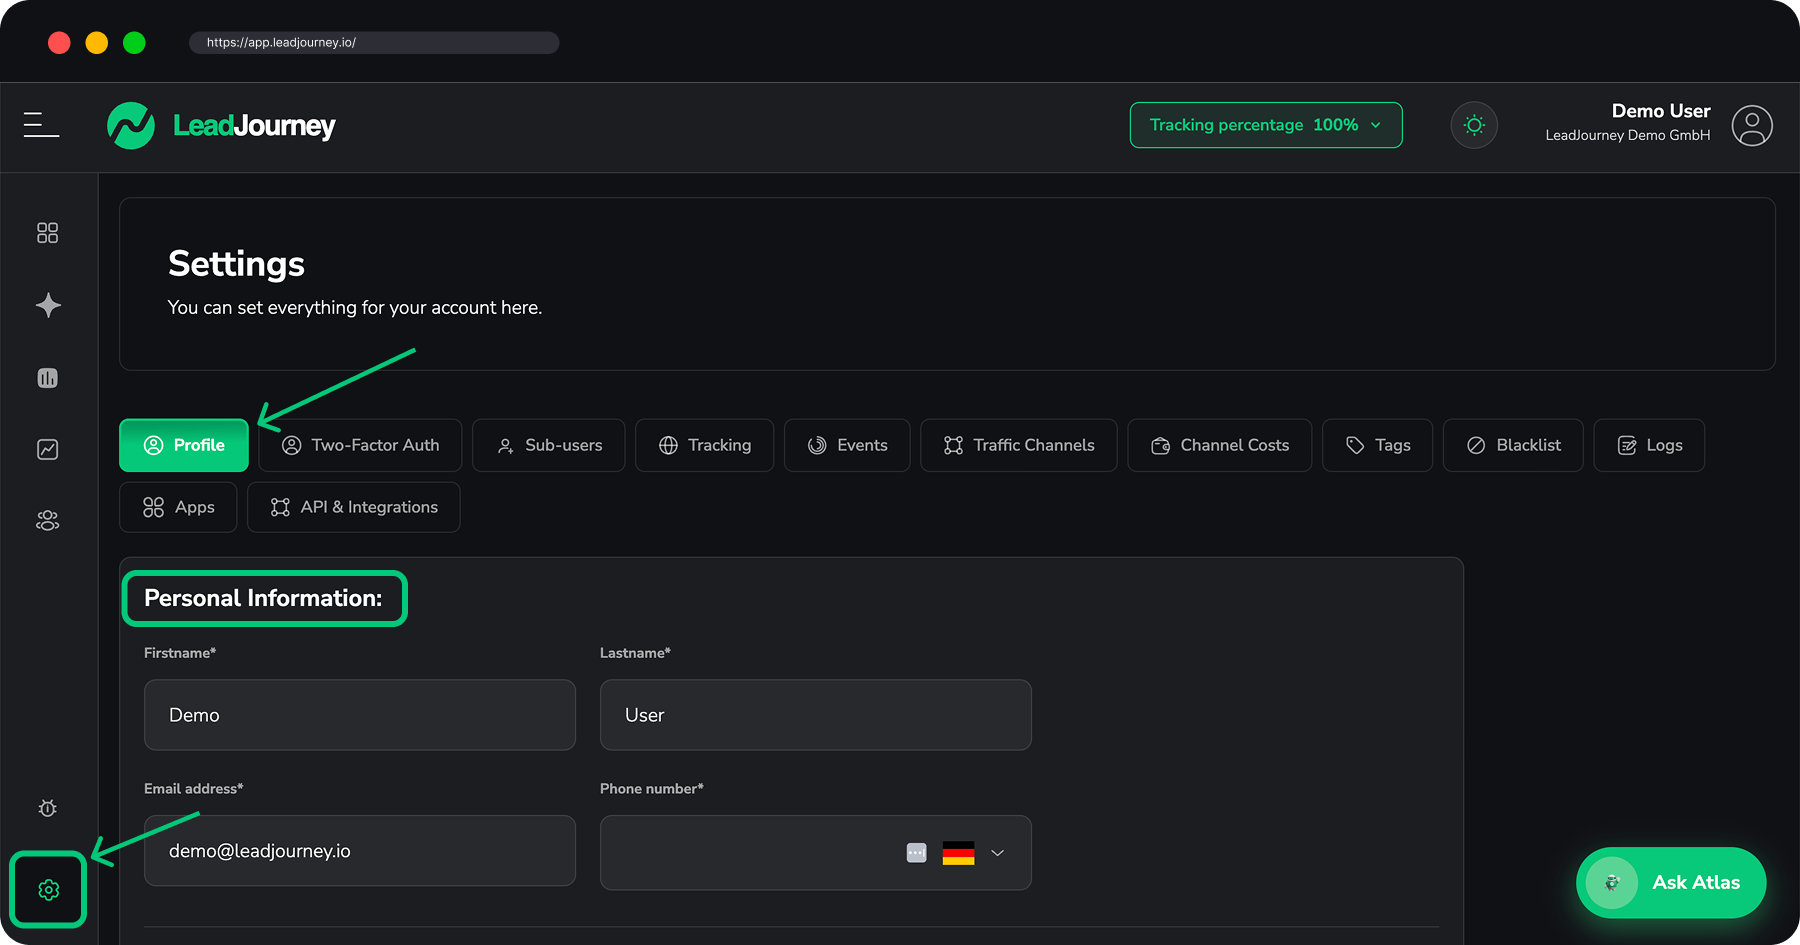
1–2. Profile & workspace basics
Set your company name, time zone, currency and date format. These define how every report reads, so it's worth getting right up front. You can change them later under Profile & account settings.
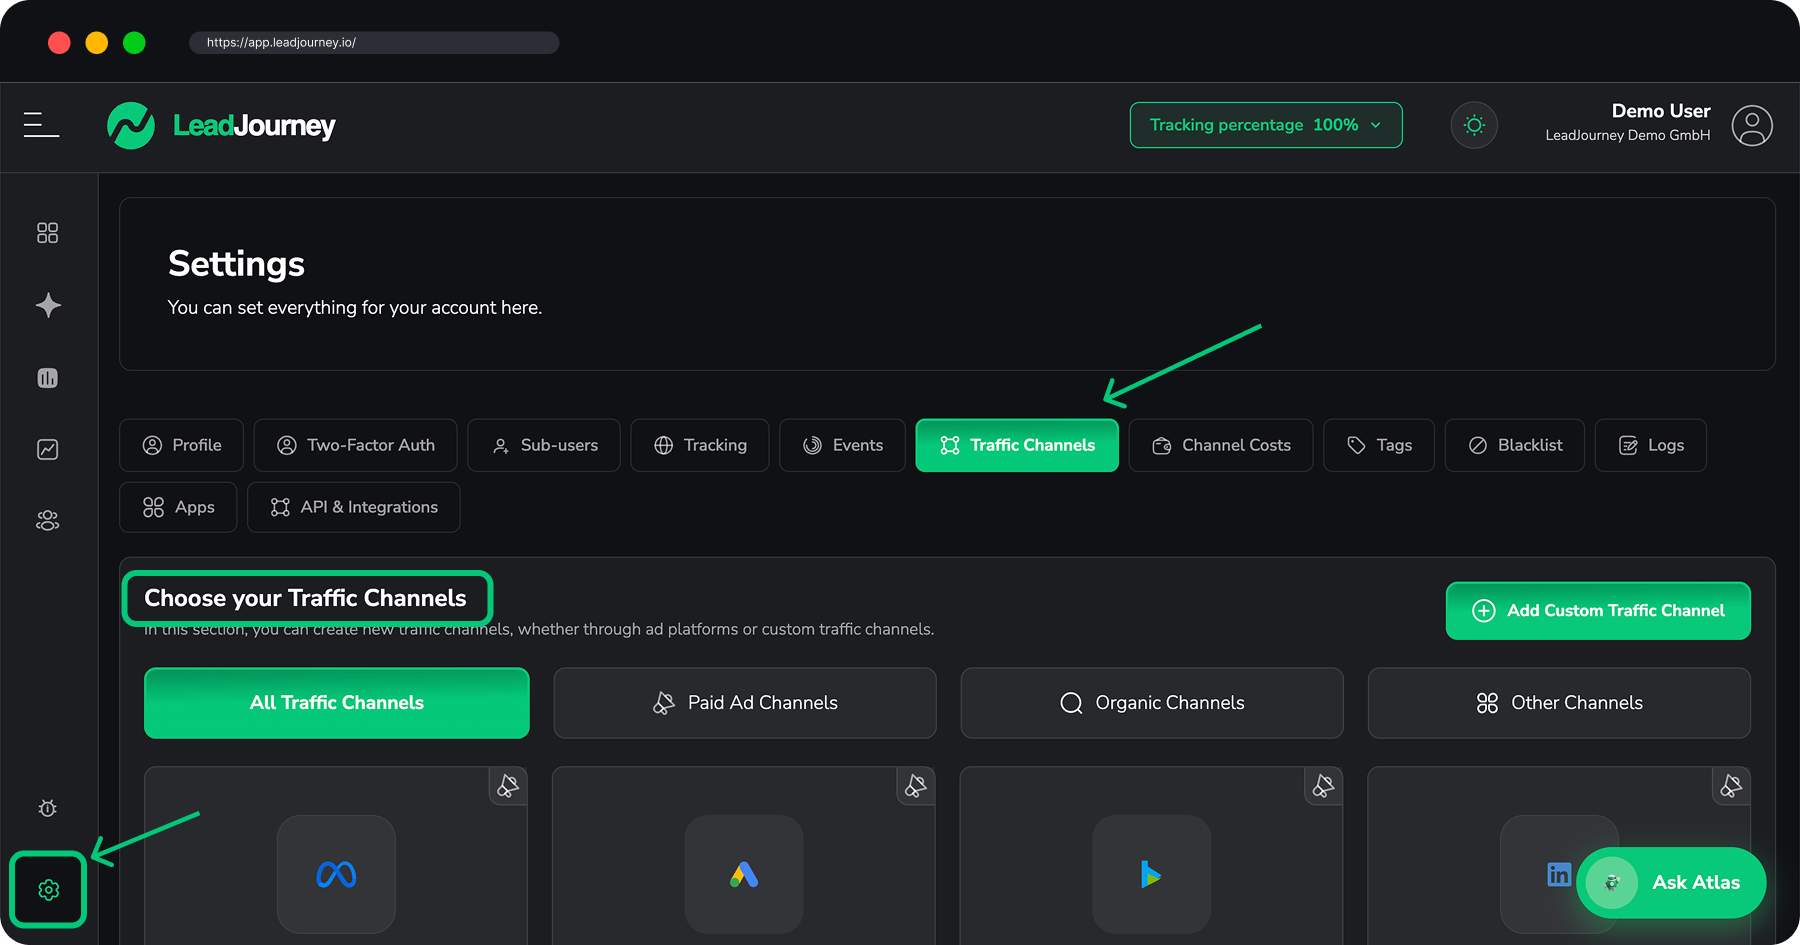
3. Traffic channels
Choose which channels you'll track – paid platforms plus organic search, AI search, social, referral and any custom channels. See Traffic channels.
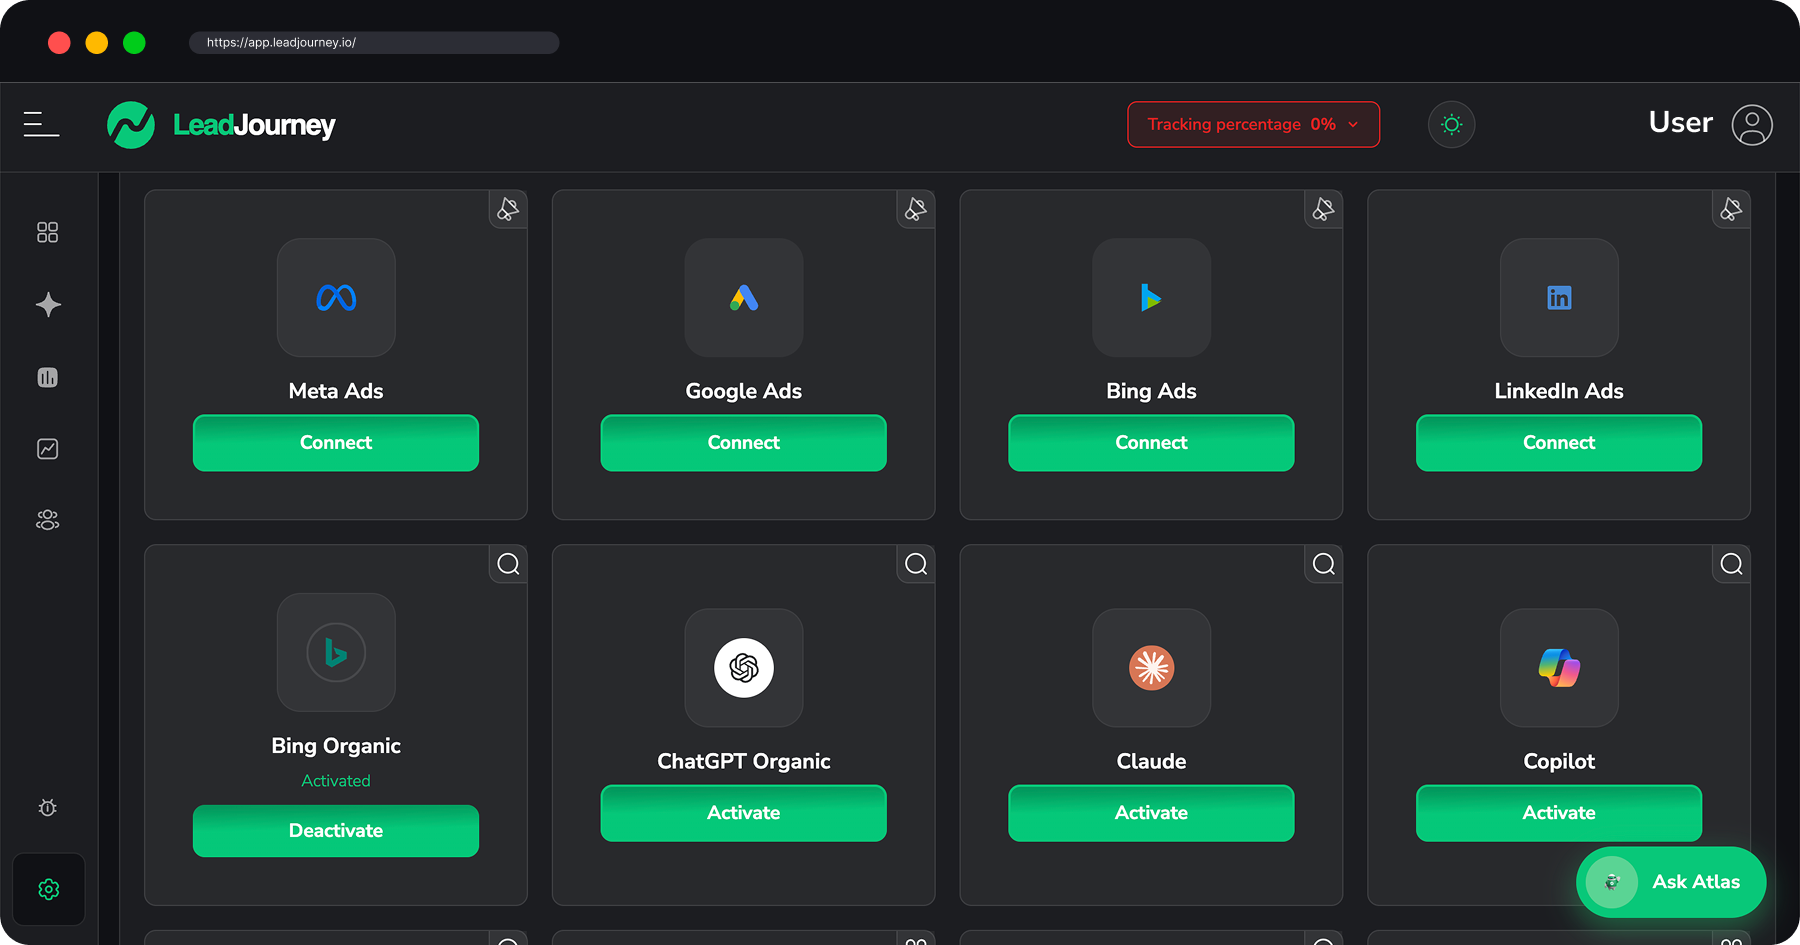
4. Connect your ad platforms
Connect the accounts you spend on so cost data syncs automatically:
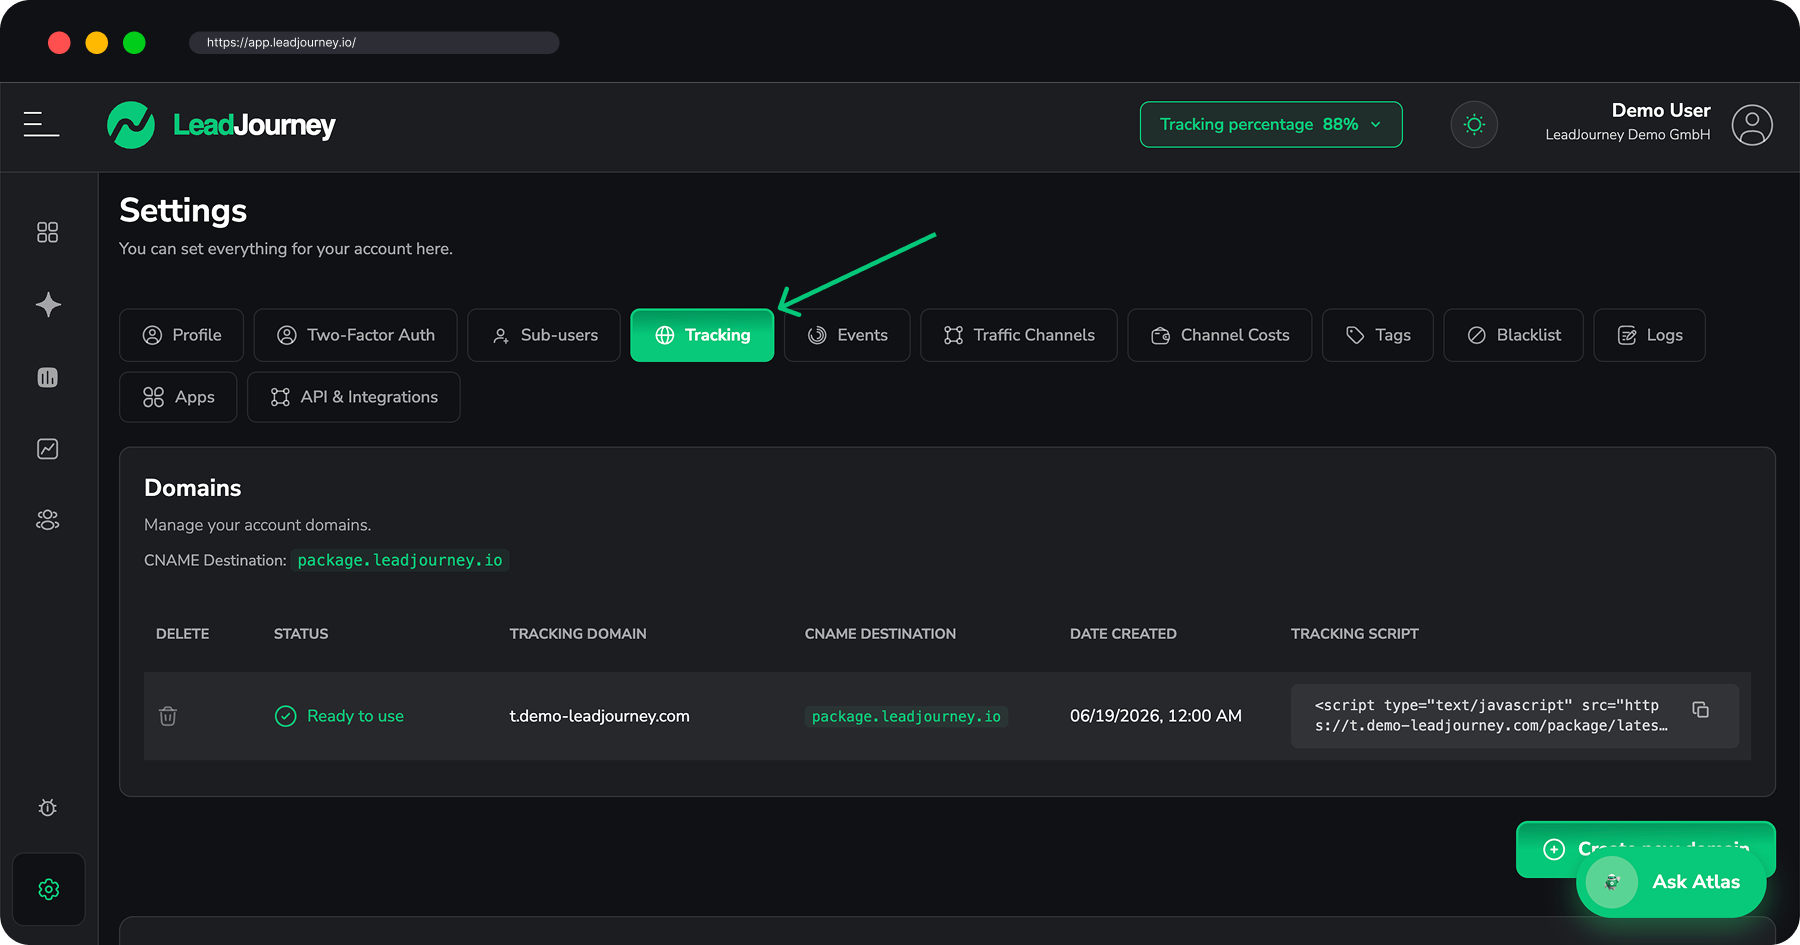
5. Tracking domain
Set up a first-party tracking domain (a CNAME on a subdomain like t.your-site.com). This is
what makes tracking resilient and accurate. See
Set up a custom tracking domain.
6. Install the tracking script
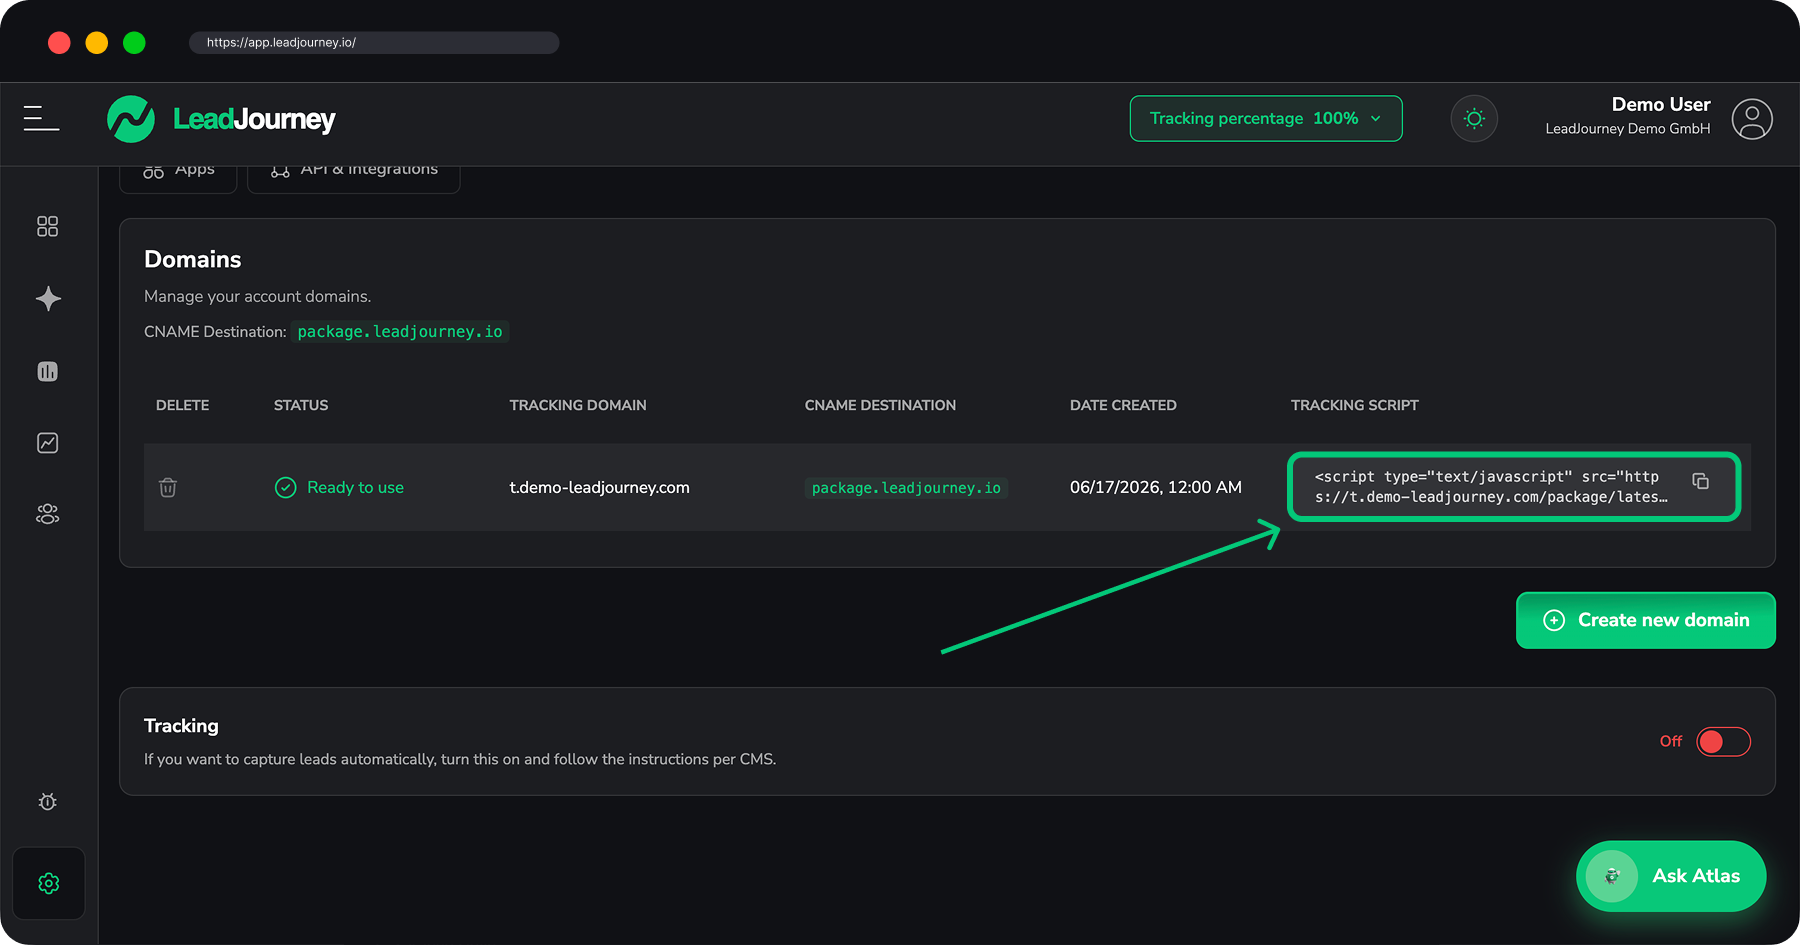
Add the tracking script to your site so clicks and page views are recorded. The wizard can detect your CMS and verify the install. See Install the tracking script.
7. CRM events
Define the outcomes you care about. Every workspace starts with Lead and WonClient; add the stages in between (e.g. QualifiedLead, BookedCall, ShowedUp, OfferSent) to rebuild your full funnel. See Events & the Events Manager.
8–9. Hidden fields & CRM webhooks
Capture the click ID in your forms (hidden fields) and wire your CRM to send each event back to LeadJourney (webhooks), so conversions match to the click that created them. Both are covered in Events & the Events Manager.
10. Verify & learn
A final checklist confirms everything is wired up, then points you at the main reports: Dashboard, Lead Overview, the Traffic Channel Report and the Campaign Report.
What to do once you're set up
Add the spend the API can't see
Your ad platforms sync cost automatically – but SEO, email and freelancer spend won't. Add it under Channel Costs so cost-per-lead and ROI are complete across every channel.
- Explore the prebuilt reports and pin custom views with the Report Builder to a Dashboard.
- Ask questions in plain English with Ask Atlas.
Related articles
Install the tracking script
Record the clicks everything else is built on.
Set up a custom tracking domain
The first-party foundation for accurate tracking.
Events & the Events Manager
Send leads, calls and won deals back to LeadJourney.
How attribution works
Understand the lj_ parameters tying it all together.