Account & Security
Add users to your workspace
Invite team members to your LeadJourney workspace, pick their role, and control exactly which reports and traffic channels each person can access.
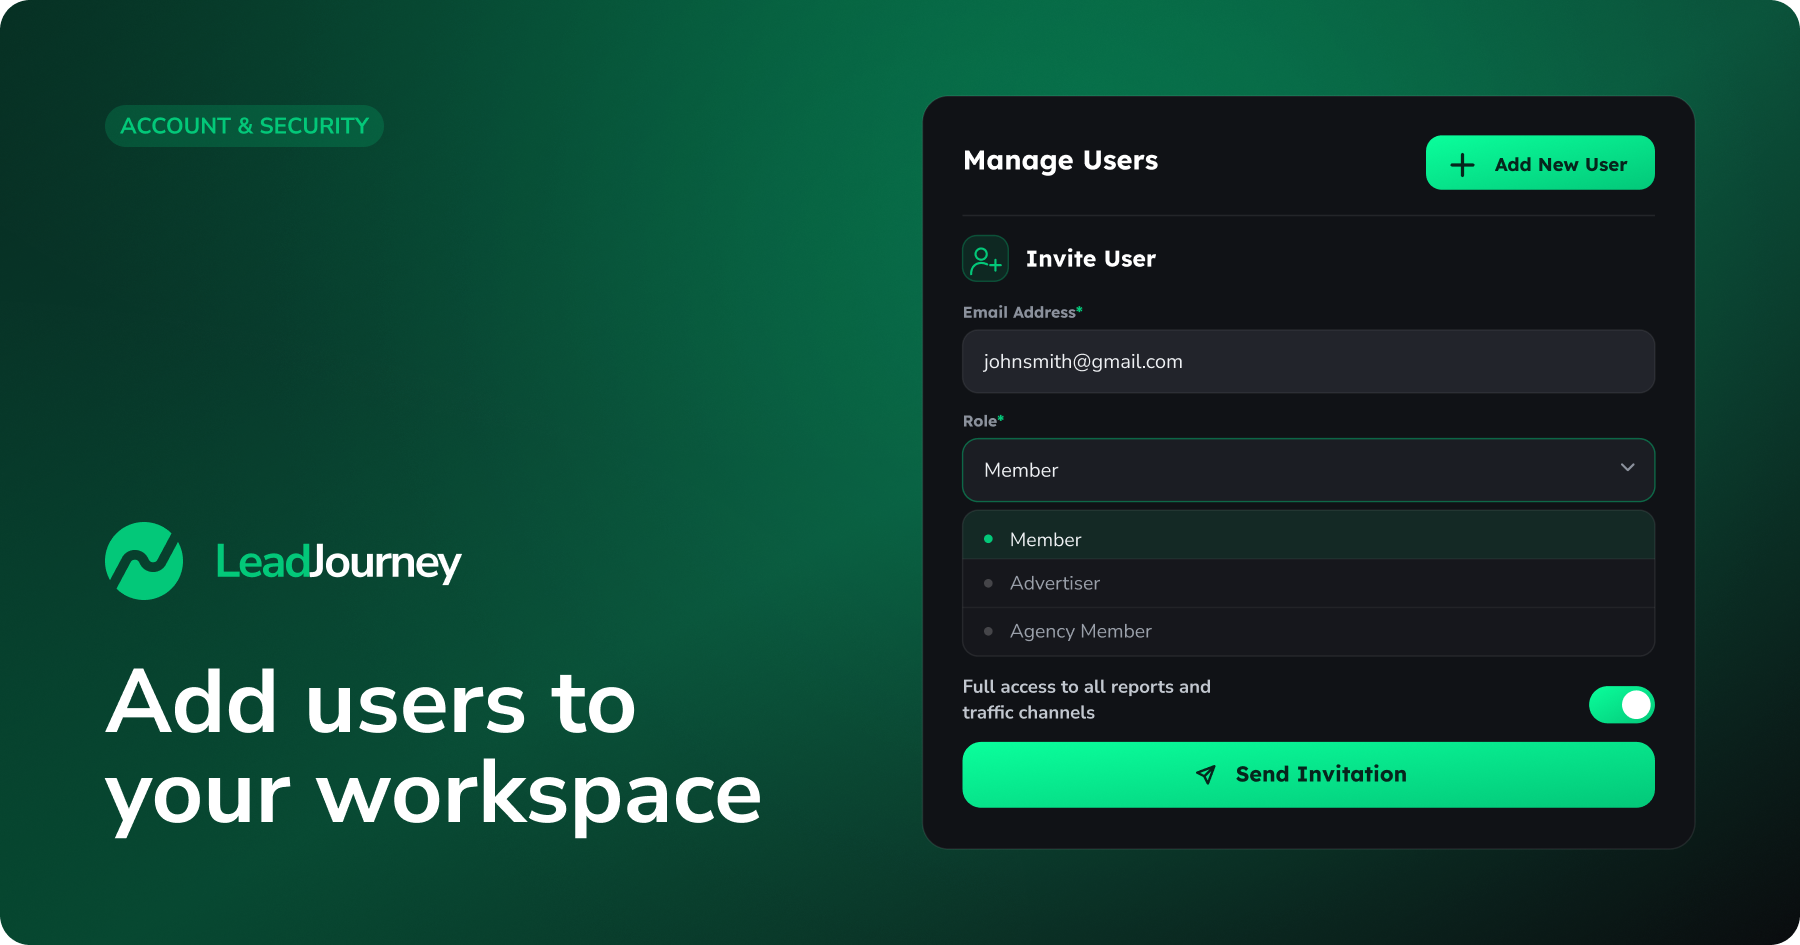
Need to give a colleague, client or agency partner access to your data? You invite them from the Sub-users tab. Each person gets their own login, you choose their role, and you decide whether they see everything or only specific reports and traffic channels.
Who can add users?
Only a workspace owner (or an agency managing the workspace) can invite and manage users – it requires the Sub Users permission. If you don't see the Add New User button, ask your workspace owner to add the person or grant you access.
Where to find it
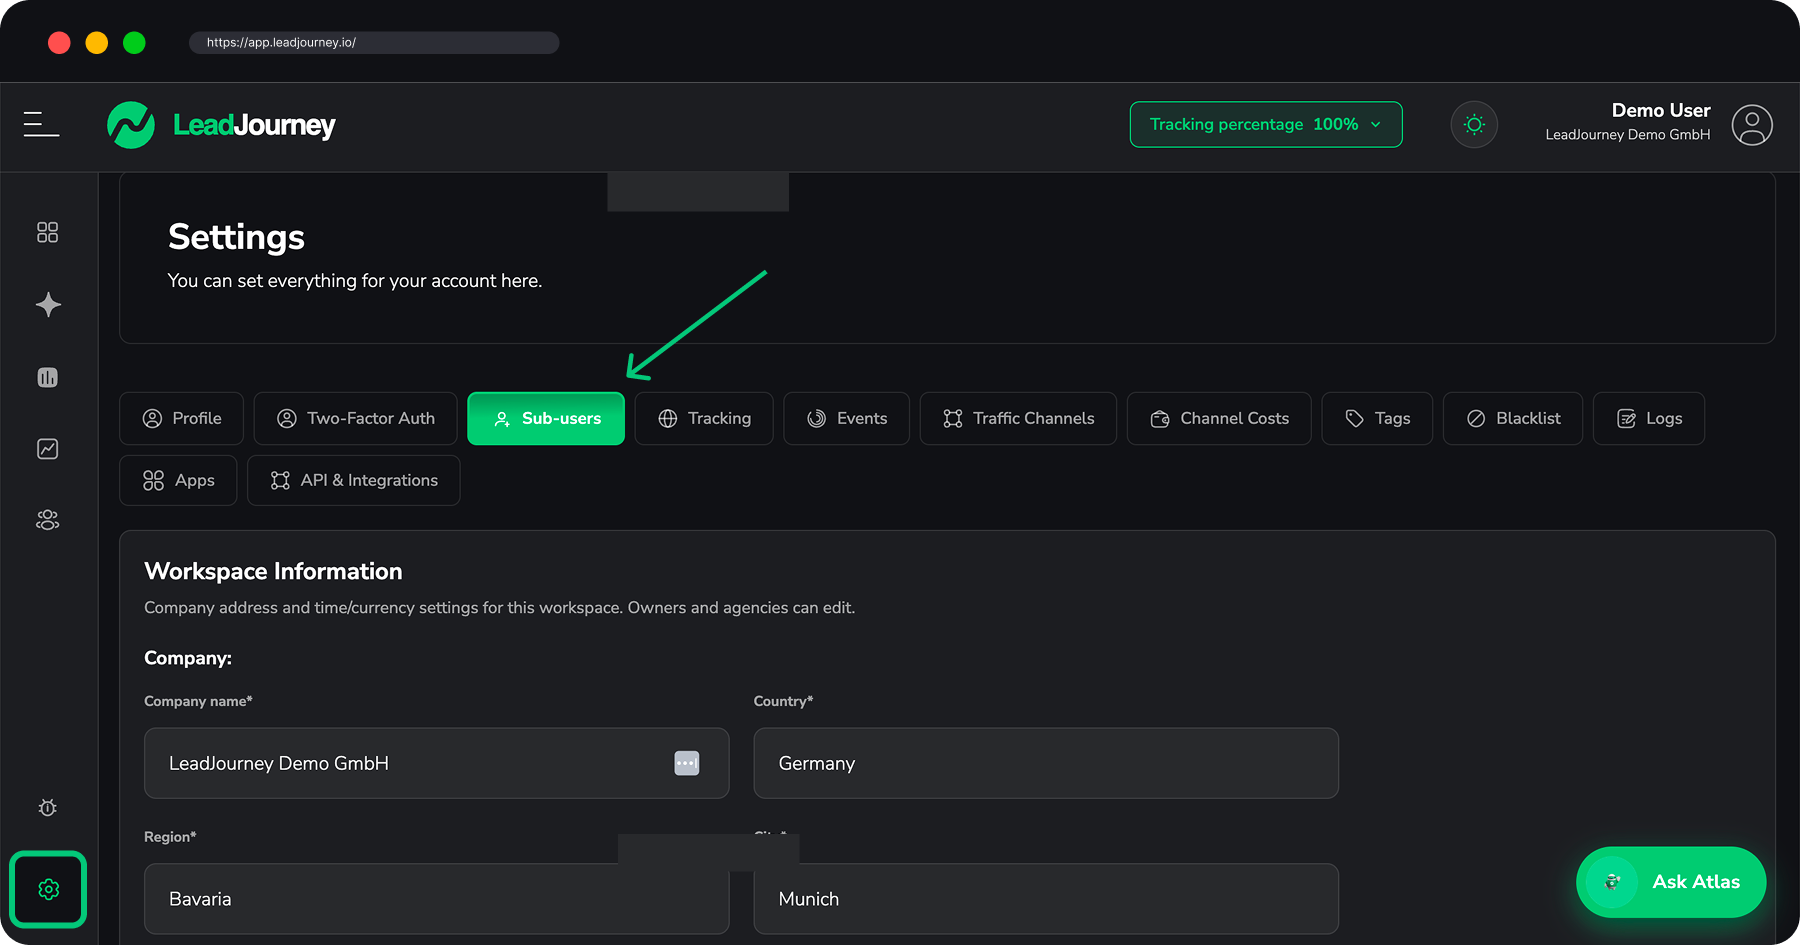
In LeadJourney, open Settings → Sub-users, or go straight to app.leadjourney.io/settings?slug=sub-users. The Manage Users section lists everyone who already has access; new users are added from there.
Invite a new user
Open the Sub-users tab
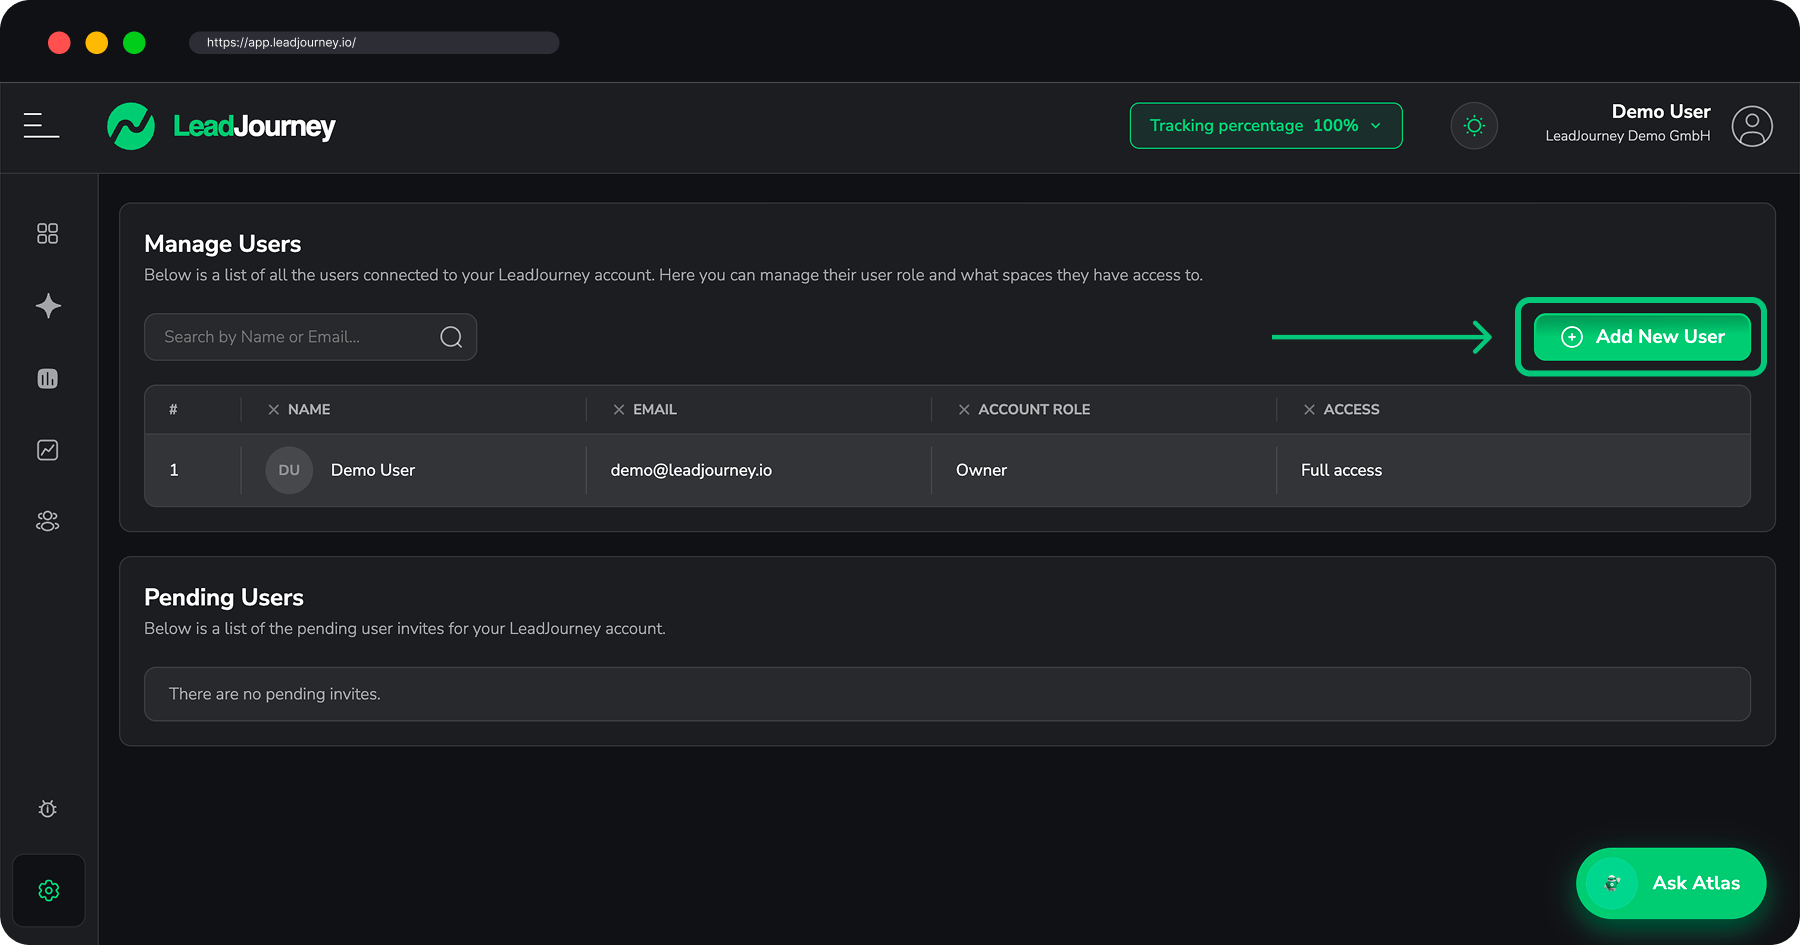
Go to Settings → Sub-users and find the Manage Users section. Click the green Add New User button on the right of the toolbar. The Invite User dialog opens.
Enter their email address
Type the person's Email Address – this is required, and it's the address the invitation is sent to. If they don't have a LeadJourney account yet, they'll be able to create one when they accept.
Choose a role
Pick a Role from the dropdown:
- Member – a regular team member of your workspace.
- Advertiser – someone who works on your advertising and campaigns.
- Agency Member – a member of an agency that works on the account.
The role sets the person's natural starting access. You fine-tune exactly what they can see in the next step.
Set their access
By default, Full access to all reports and traffic channels is selected, so the new user sees everything in the workspace.
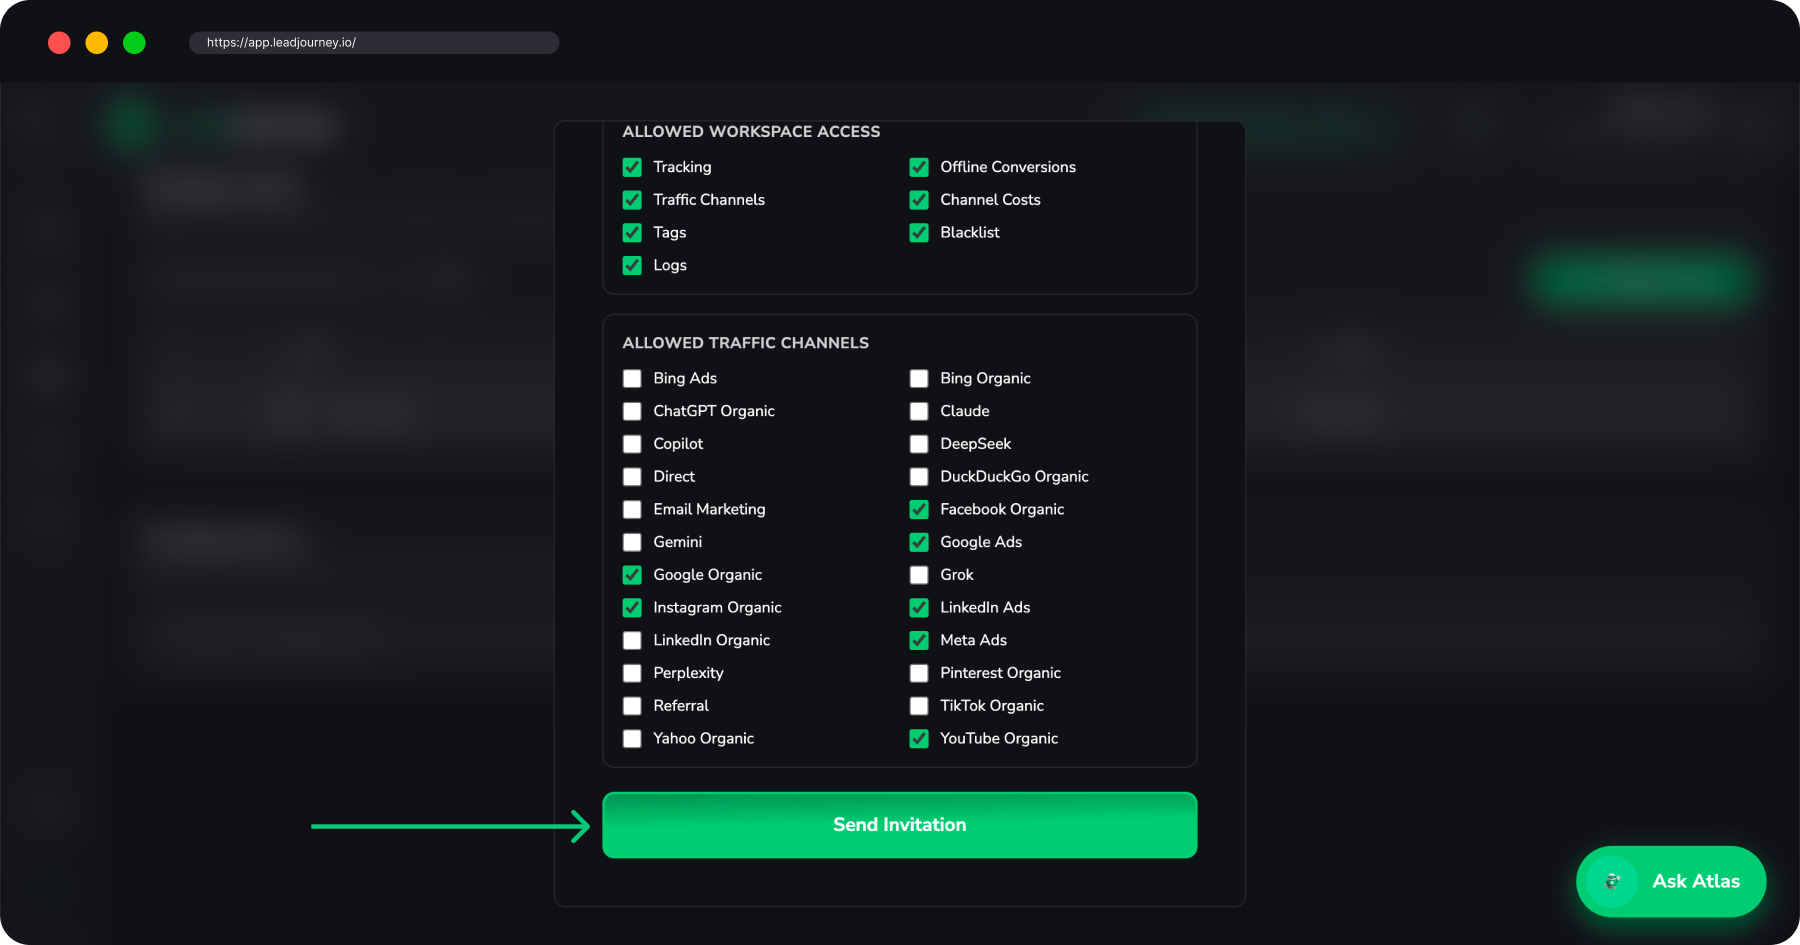
Want to limit them? Turn the toggle off to pick specific access. You can then tick only the areas they should have:
- Allowed Reports – Traffic Channel Report, Campaign Report, Ad Creative Report, Landing Page Report, Report Builder and Lead Overview.
- Allowed Workspace Access – Tracking, Offline Conversions, Traffic Channels, Channel Costs, Tags, Blacklist and Logs.
- Allowed Traffic Channels – limit them to specific channels in your workspace (e.g. only their own Meta or Google account).
Start broad, then trim
When you turn full access off, LeadJourney pre-selects the role's natural set of permissions, so you start from "everything this role gets" and simply uncheck what you don't want to share.
Send the invitation
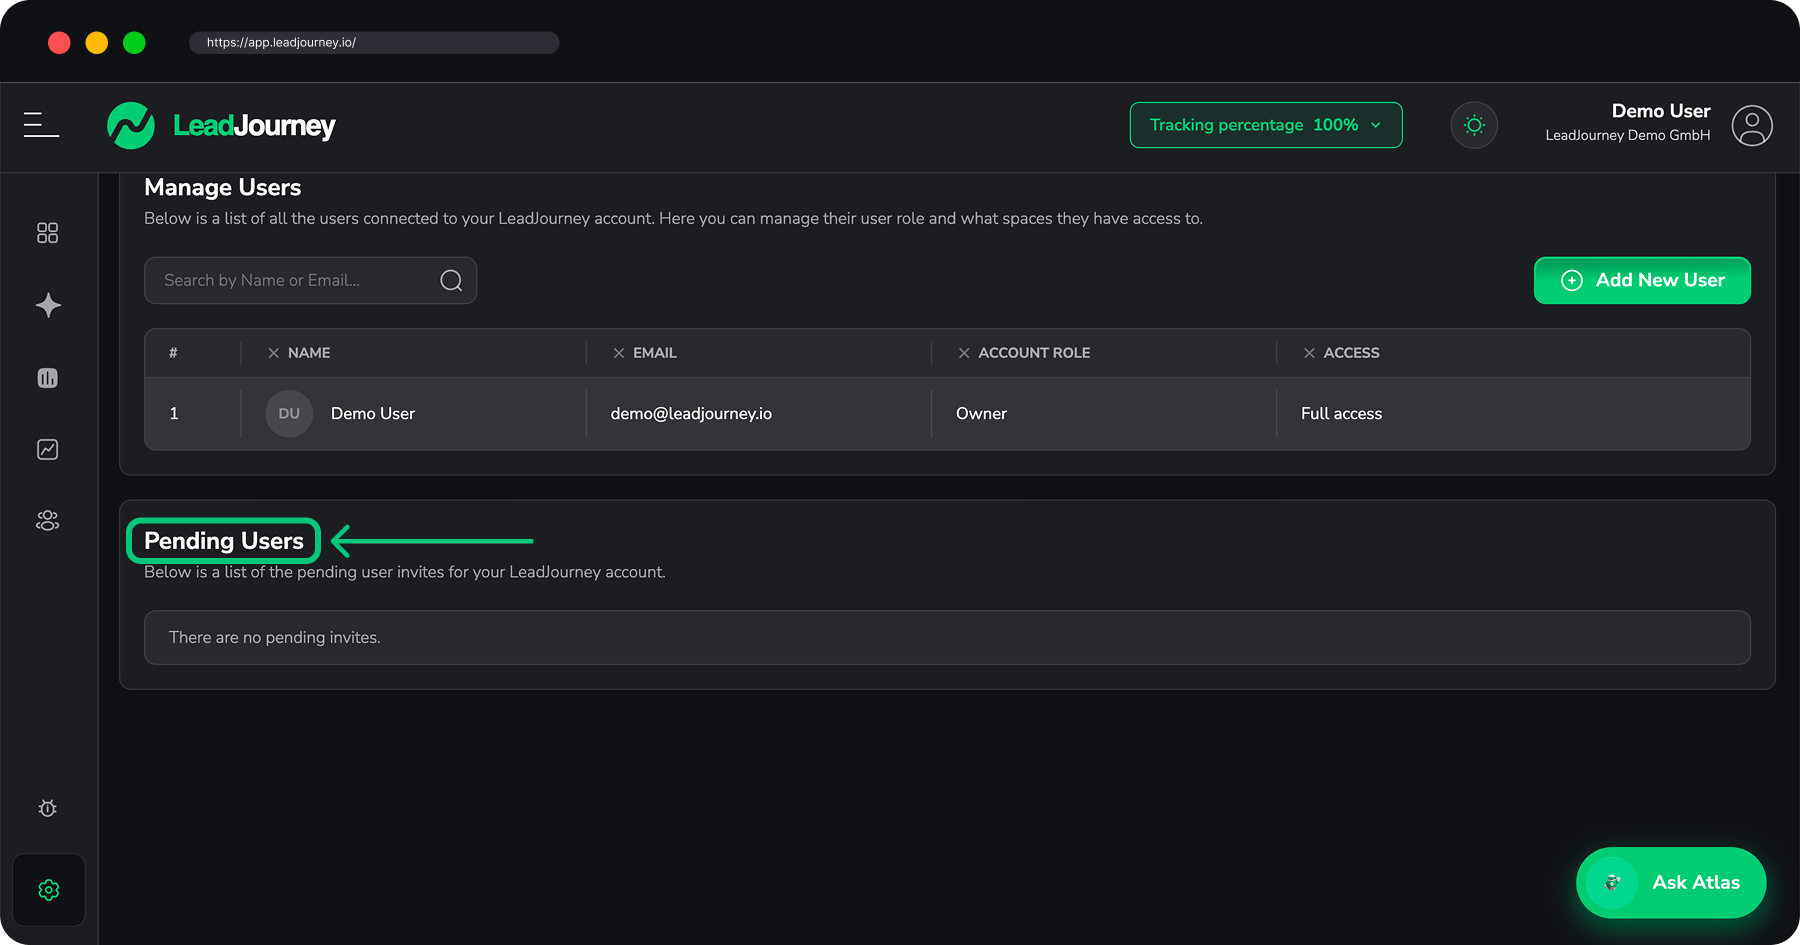
Click Send Invitation. You'll see a confirmation, and the person now appears under Pending Users until they accept. Once they accept, they move into the Manage Users table and can sign in.
Manage pending invitations
Invitations that haven't been accepted yet sit in the Pending Users section, each marked Pending. For any pending invite you can:
- Resend – send the invitation email again (the circular arrow icon).
- Cancel – withdraw the invitation so the link no longer works (the trash icon).
If there's nothing waiting, you'll just see "There are no pending invites."
Edit or remove a user later
Everyone with access is listed in the Manage Users table, showing their name, email, account role and a summary of their access. On each row:
- Edit (pencil icon) – open Edit User Permissions to change the person's role or switch their access between full and specific reports and channels, then click Save Changes.
- Remove (trash icon) – take the person out of the workspace. You'll be asked to confirm.
The owner can't be removed
The workspace owner (and the original workspace creator) can't be edited or removed here – there always has to be someone in charge of the workspace.
Troubleshooting
"An invitation already exists for this email"
You've already invited this address and it's still pending. Look under Pending Users – you can resend the existing invite or cancel it and start over.
"This user is already a member of this workspace"
The person already has access. They're in the Manage Users table – use the edit (pencil) icon there if you want to change their role or access.
Invitation didn't arrive?
Ask the invitee to check their spam folder, and make sure the email address is spelled correctly. If it still hasn't arrived, open Pending Users and click Resend.
Related articles
Edit your profile & account settings
Update your name, email and password, and set your company details, time zone, currency and time format in LeadJourney.
Manage multiple workspaces (agencies)
Run a separate LeadJourney workspace for each client – create new client workspaces, switch between them in one click, and set each one up from the Agency area.