Getting Started
Install the tracking script on a custom-coded website
Add the LeadJourney tracking script to a hand-coded site – static HTML, server-rendered templates, single-page apps, Next.js or Nuxt.
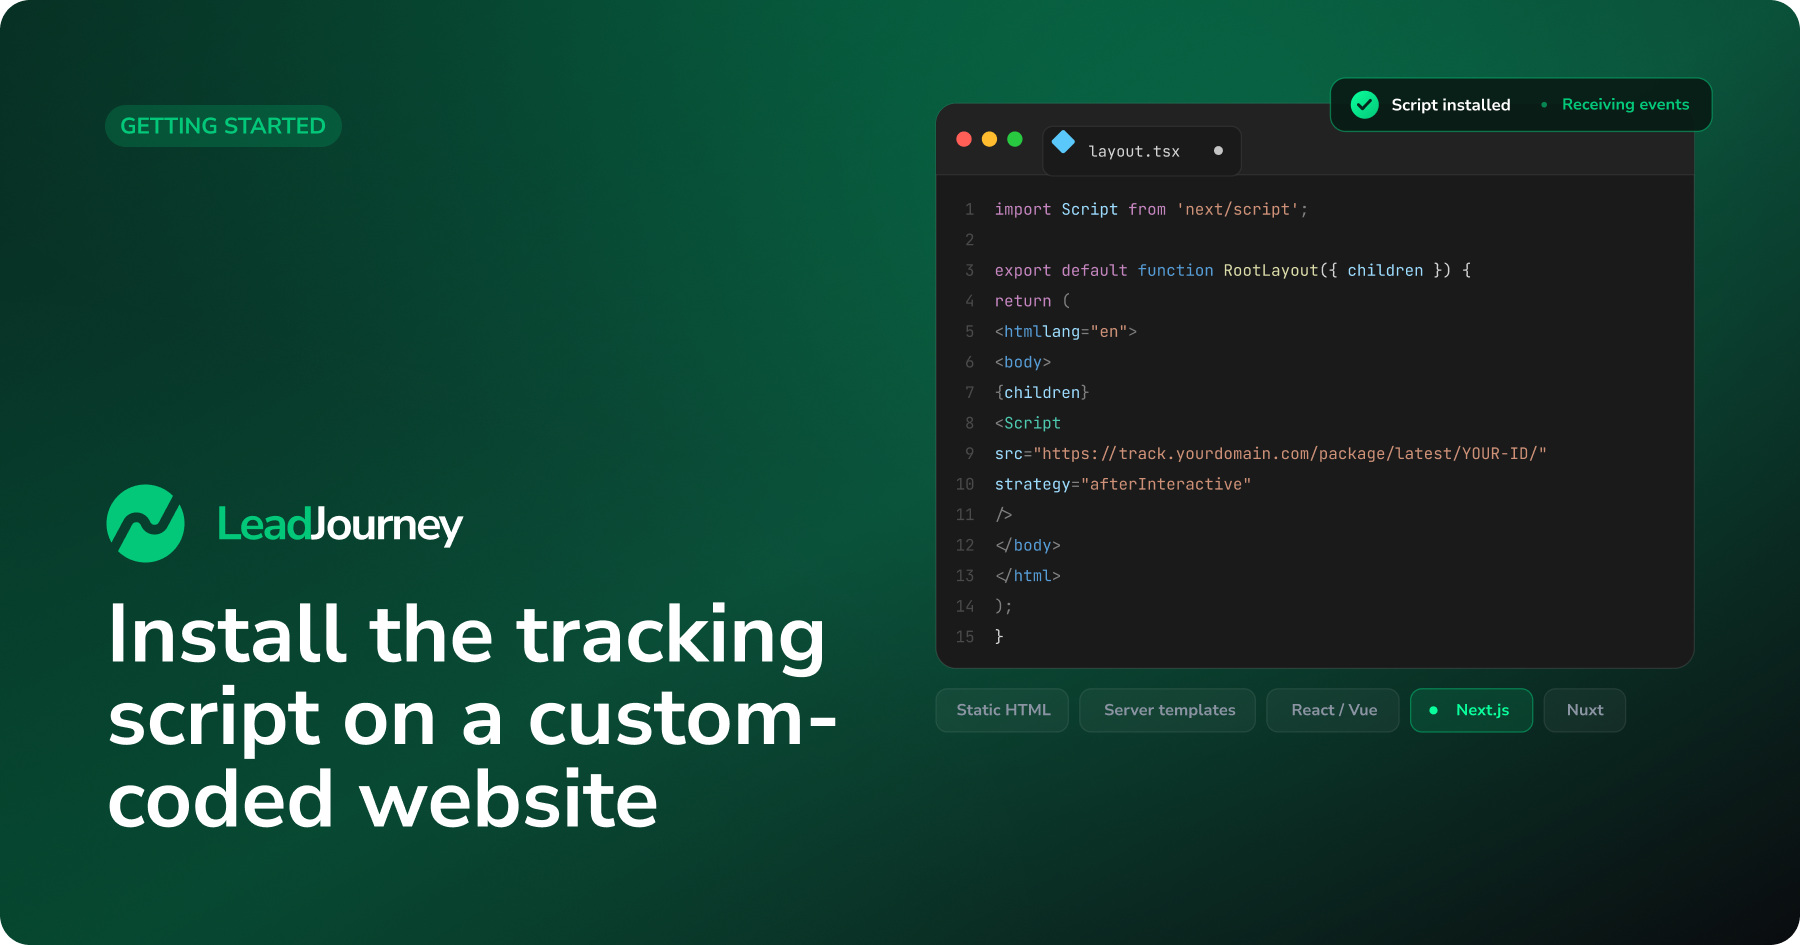
This guide shows you how to add the LeadJourney tracking script to a custom-coded
website – anything from a single static index.html to a server-rendered app or a
JavaScript single-page app. The rule is always the same: the snippet goes once into the
<head> of every page.
Prerequisites
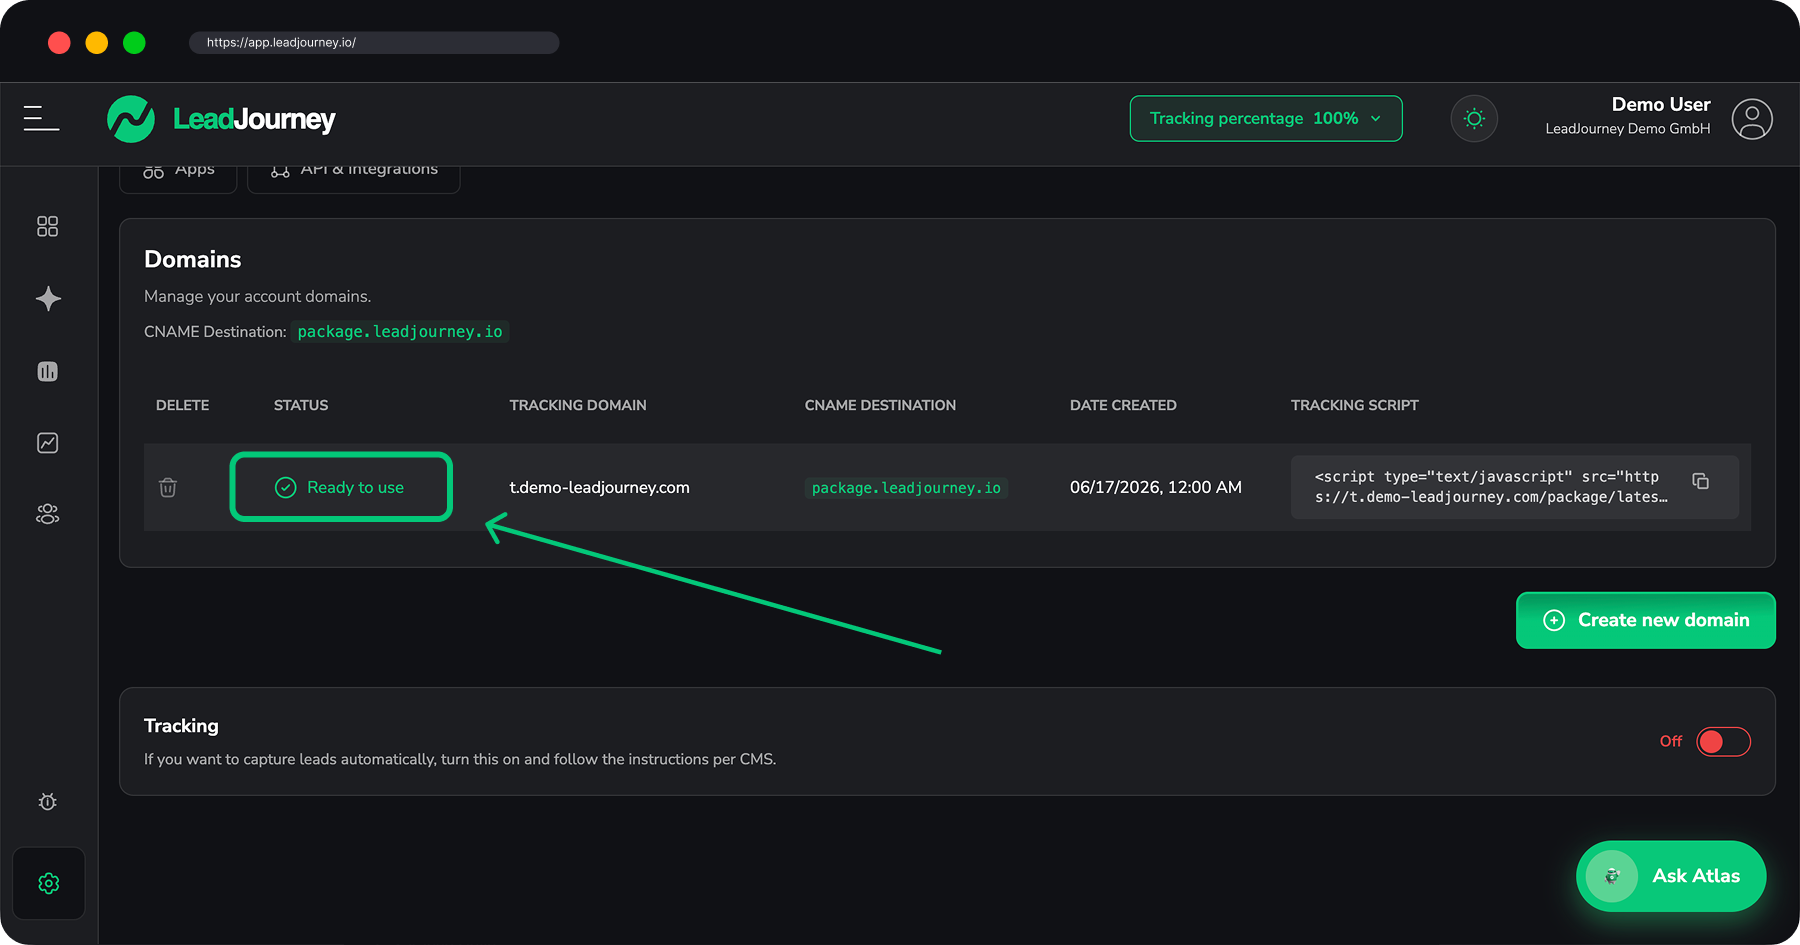
A tracking domain that shows Ready to use and your personal snippet from Settings → Tracking. If you haven't set those up yet, start with Set up your tracking domain and Install the tracking script.
Step by step
Copy your snippet
Open Settings → Tracking and copy the snippet from the Tracking Script column. It contains your tracking domain and workspace ID and looks like this:
<!-- LeadJourney Tracking -->
<script type="text/javascript" async
  src="https://track.yourdomain.com/package/latest/YOUR-WORKSPACE-ID/"></script>
Use your own snippet
Always copy the snippet straight from your settings – the domain and workspace ID are unique to your account. The example above is just for illustration.
Add it to the <head> – pick your stack
Place the snippet inside <head>, ideally near the top so it loads early. It's async, so
it won't block your page. Add it once per page – the best way is a shared layout,
template or header partial so it's automatically on every page.
Paste the snippet directly inside the <head> of each HTML file:
<!DOCTYPE html>
<html>
  <head>
    <meta charset="utf-8" />
    <title>My site</title>

    <!-- LeadJourney Tracking -->
    <script type="text/javascript" async
      src="https://track.yourdomain.com/package/latest/YOUR-WORKSPACE-ID/"></script>
  </head>
  <body>
    ...
  </body>
</html>
If you have several pages, put it in your shared header include (e.g. a header.html
partial, an SSI <!--#include -->, or your build tool's layout) so you only maintain it in
one place.
For PHP, Laravel (Blade), Rails (ERB), Django, Express/EJS, Go templates and similar, add
the snippet to the shared <head> layout that every page extends – not to each page
individually.
<!-- in your base layout's <head> -->
<!-- LeadJourney Tracking -->
<script type="text/javascript" async
  src="https://track.yourdomain.com/package/latest/YOUR-WORKSPACE-ID/"></script>
For example: layout.blade.php (Laravel), application.html.erb (Rails), base.html
(Django), or your common header.php include.
For a client-rendered single-page app (Vite, Create React App, Vue CLI, Angular, Svelte),
add the snippet to the static index.html <head> – the one HTML file the whole app boots
from:
<!-- public/index.html  (or  index.html at the project root) -->
<head>
  <!-- LeadJourney Tracking -->
  <script type="text/javascript" async
    src="https://track.yourdomain.com/package/latest/YOUR-WORKSPACE-ID/"></script>
</head>
Route changes are handled for you
You don't need to fire page views on navigation yourself. The script's built-in MutationObserver detects client-side route changes, so each in-app navigation is tracked as a page view automatically.
Use the Script component so Next handles injection. In the App Router, add it to your
root app/layout.tsx:
import Script from 'next/script';

export default function RootLayout({ children }: { children: React.ReactNode }) {
  return (
    <html lang="en">
      <body>
        {children}
        <Script
          src="https://track.yourdomain.com/package/latest/YOUR-WORKSPACE-ID/"
          strategy="afterInteractive"
        />
      </body>
    </html>
  );
}
In the Pages Router, add the same <Script> to pages/_app.tsx. Either way it loads on
every route.
Add the script globally in nuxt.config.ts so it's in the <head> of every page:
export default defineNuxtConfig({
  app: {
    head: {
      script: [
        {
          src: 'https://track.yourdomain.com/package/latest/YOUR-WORKSPACE-ID/',
          async: true,
        },
      ],
    },
  },
});
You can also use useHead({ script: [...] }) in your root layout for the same effect.
Deploy and verify
Deploy your change, then open your site in a new browser tab and return to Settings → Tracking. Once the first page views arrive, LeadJourney confirms the script is live.
Will my forms fire a Lead?
The script detects standard <form> submissions and fires a Lead event
automatically, with a formless-click fallback for custom buttons and AJAX forms that don't
submit a real form element. If your app posts the form via fetch/XHR without a <form>,
read Track events to make sure leads are captured the
way you want.
Troubleshooting
Tracking not detected?
Check that your tracking domain is Ready to use, that the snippet sits inside the
<head> of the served page (view source with Ctrl/Cmd + U and search for
package/latest), and that you copied your own snippet (correct domain + workspace
ID). On SPAs, make sure it's in the static index.html, not inside a component that may
not mount on first paint. Also confirm a cookie-consent script or CSP isn't blocking the
request to your tracking domain.
Content Security Policy?
If your site sends a Content-Security-Policy header, allow your tracking domain in
script-src and connect-src (e.g. https://track.yourdomain.com) so the browser can
load the script and send events.
Related articles
Install the tracking script on GoHighLevel
Add the LeadJourney tracking script to a GoHighLevel funnel or website via the Head Tracking Code, then publish – so every page view and lead is tracked.
3. Capture leads automatically
Turn on one toggle and the tracking script captures every form submission on your site as a Lead – no hidden fields, no per-form setup. The easiest way to track form submissions, with Exclusions for the pages you want to skip.