Getting Started
Install the tracking script on Webflow
Add the LeadJourney tracking script to a Webflow site site-wide via Custom Code, then publish – so every page view and form lead is tracked.
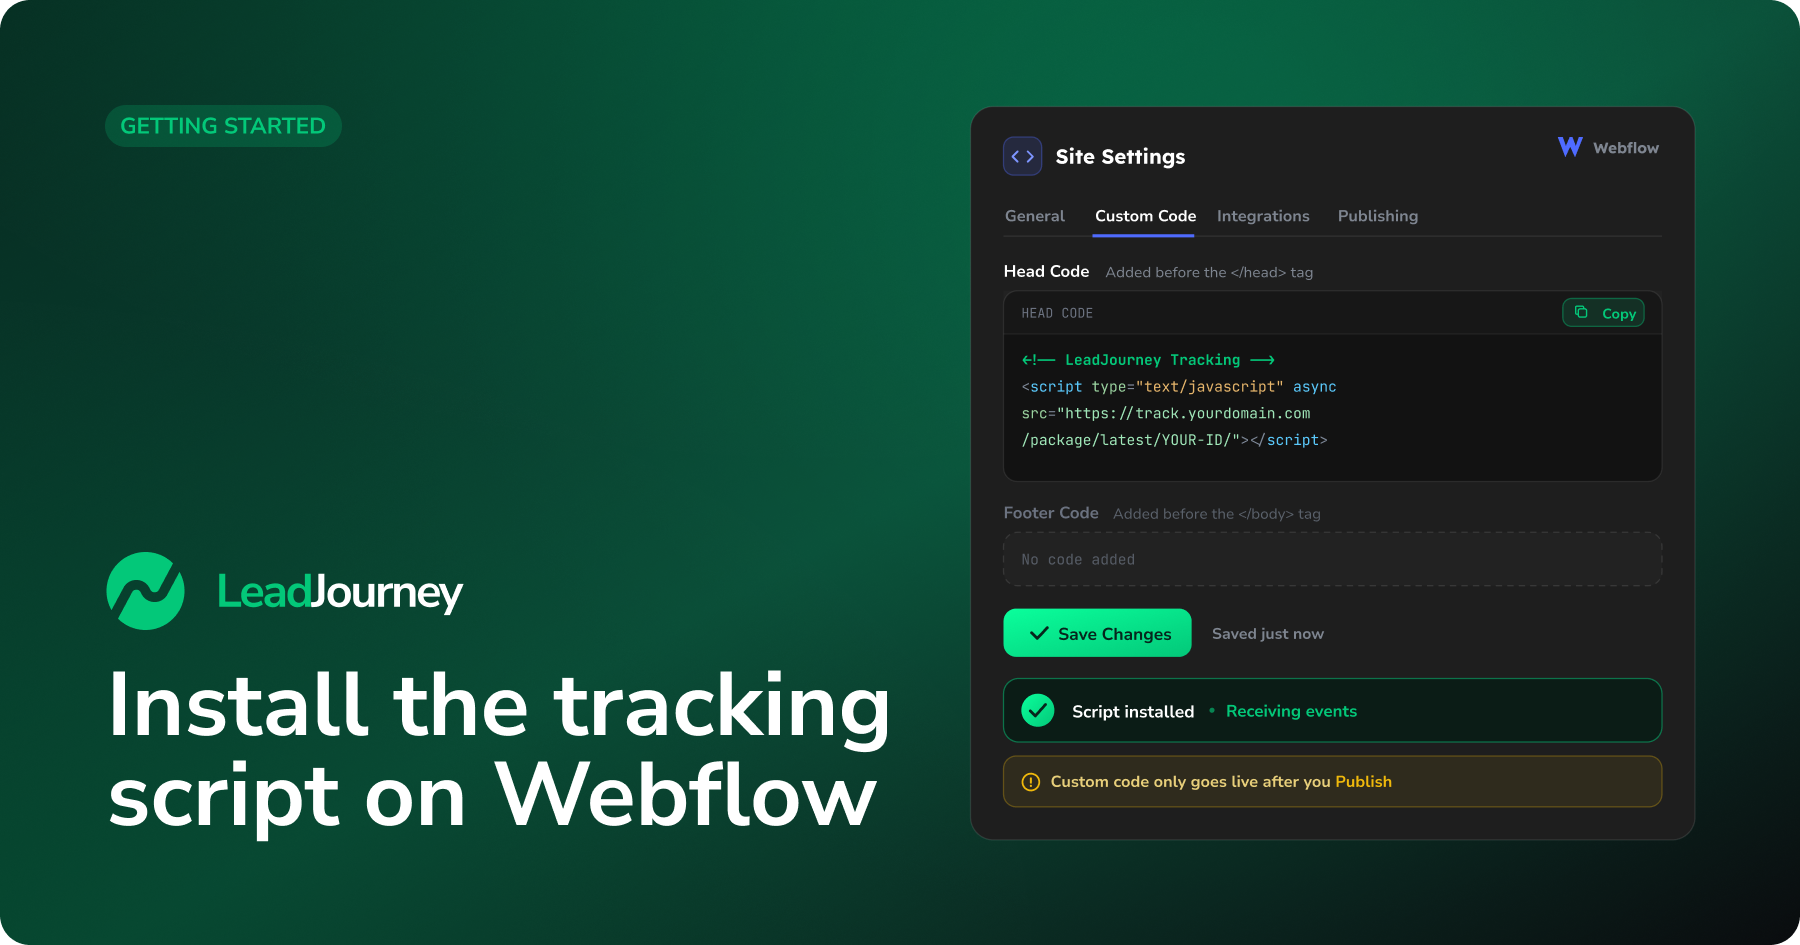
This guide shows you how to add the LeadJourney tracking script to a Webflow site.
Webflow has a built-in place for <head> code, so no developer is needed – you paste the
snippet once at the site level and publish.
Prerequisites
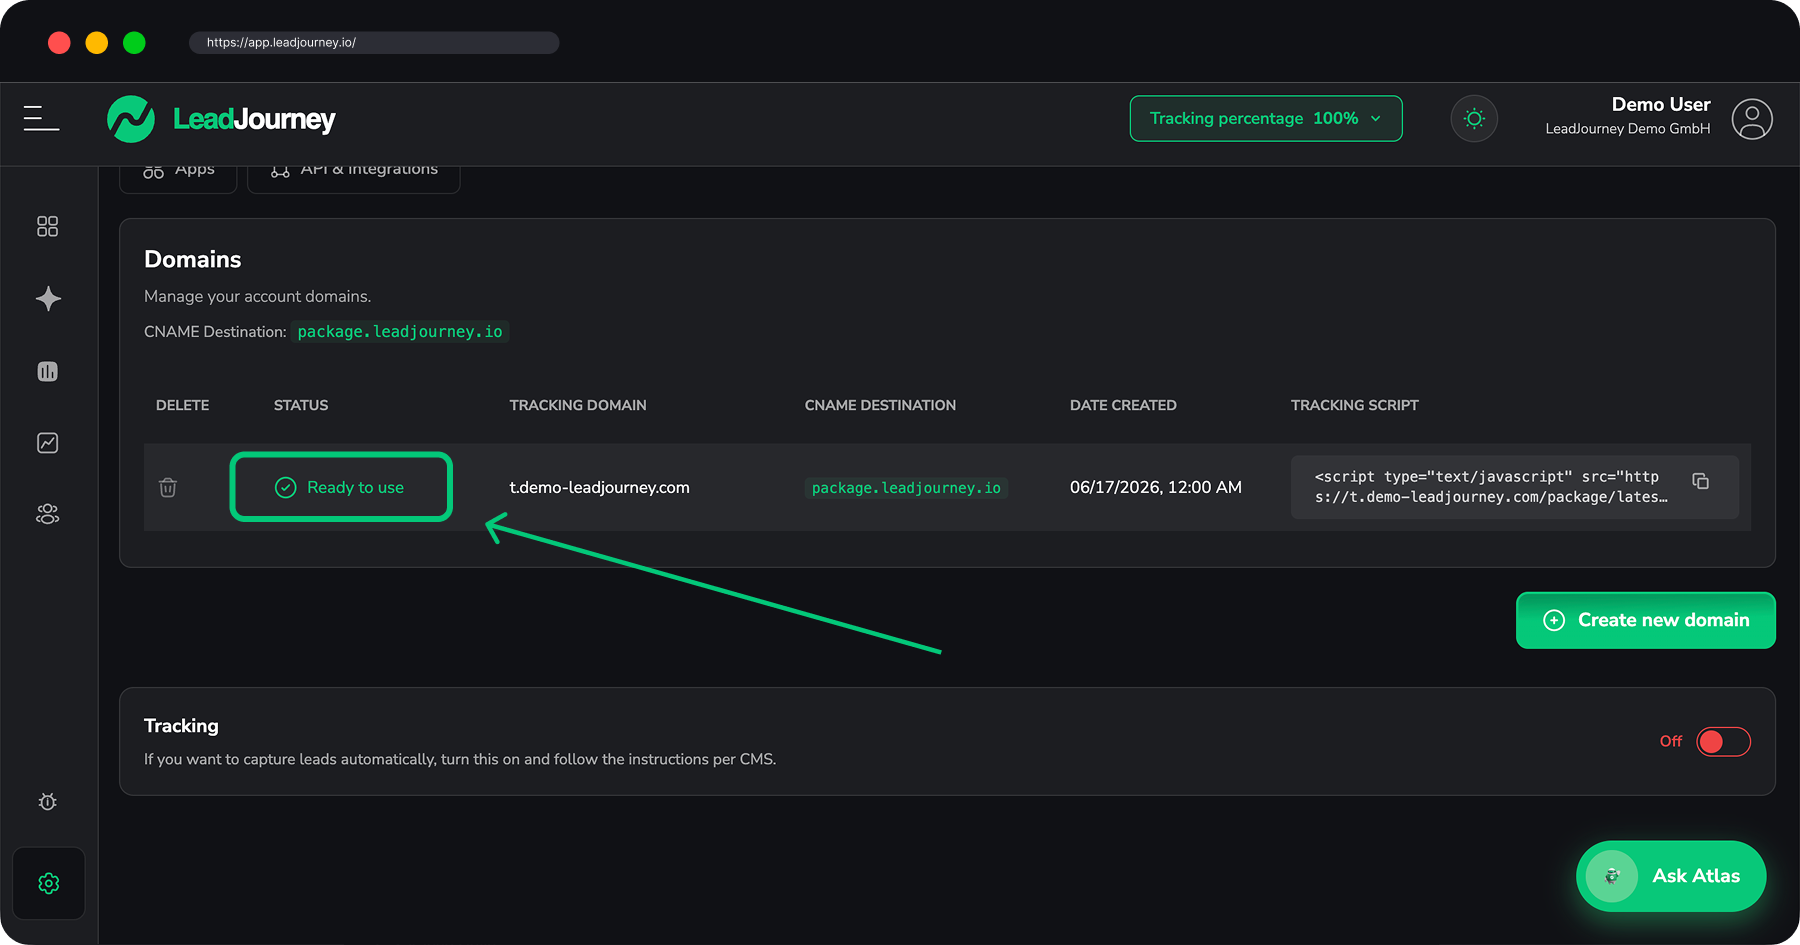
A tracking domain that shows Ready to use and your personal snippet from Settings → Tracking. If you haven't set those up yet, start with Set up your tracking domain and Install the tracking script.
Custom code needs a paid Site plan
Webflow only outputs custom <head> code on sites with a paid Site plan (and on a
custom domain). On the free *.webflow.io staging URL the script may not load – publish to
your real domain to verify.
Step by step
Copy your snippet
Open Settings → Tracking and copy the snippet from the Tracking Script column. It contains your tracking domain and workspace ID and looks like this:
<!-- LeadJourney Tracking -->
<script type="text/javascript" async
  src="https://track.yourdomain.com/package/latest/YOUR-WORKSPACE-ID/"></script>
Use your own snippet
Always copy the snippet straight from your settings – the domain and workspace ID are unique to your account. The example above is just for illustration.
Open the site-wide Custom Code
In the Webflow Designer, open Site Settings (or, from the dashboard, the ⋯ menu on your project → Settings), then go to the Custom Code tab.
You'll see two boxes: Head Code and Footer Code.
Site-wide vs. per-page
Use the site-level Head Code so the script loads on every page. There's also a per-page Custom Code box under each page's settings – only use that if you want to track a single page.
Paste into Head Code and save
Paste your snippet into the Head Code box (this is injected before the closing
</head> tag), then click Save Changes.
Publish
Custom code only goes live when you publish. Click Publish (top-right in the Designer) and select your domain(s), including the primary domain.
Saving isn't enough
Changes to Custom Code are only applied on the published site. If you save but don't publish, the script won't appear on your live pages.
Verify tracking
Open your published Webflow site in a new browser tab, then return to Settings → Tracking. Once the first page views arrive, LeadJourney confirms the script is live.
Do Webflow forms fire a Lead?
Yes. Webflow forms submit a real <form>, so the script detects the submission and fires a
Lead event automatically – no extra setup. If you use a custom or embedded form, the
built-in formless-click fallback still catches it. See Track
events to fine-tune what counts as a lead.
Troubleshooting
Tracking not detected?
Check that your tracking domain is Ready to use, that you pasted your own snippet
(correct domain + workspace ID) into the site-level Head Code (not Footer Code), and
that you published to your real domain (not just the *.webflow.io preview). Open the
live page, view source (Ctrl/Cmd + U) and search for package/latest to confirm the
snippet is on the page. Also make sure a cookie-consent tool isn't blocking it.
Related articles
Install the tracking script on WordPress
Add the LeadJourney tracking script to a WordPress site – via a header/footer plugin, Elementor, Divi, your theme settings or a child theme.
Install the tracking script on Framer
Add the LeadJourney tracking script to a Framer site site-wide via Custom Code, then publish – so every page view and form lead is tracked.