Features
Track channel costs
Add cost data for non-paid channels – SEO agencies, email tools, freelancers – so LeadJourney calculates accurate ROI across every traffic source, not just your paid ads.
Channel Costs lets you add the marketing spend that doesn't come from an ad platform – an SEO retainer, an email tool, a freelancer, an affiliate payout. LeadJourney attributes that spend to the right traffic channel, so your reports show true cost per lead and ROI for every source, not just the ones with an API.
In short
Your paid ad channels sync automatically. Channel Costs is where you add everything else by hand – the costs LeadJourney can't pull from an ad account – so no marketing spend is missing from your ROI.
Paid ads are already covered
Cost data for Google Ads, Meta Ads, LinkedIn Ads and Bing Ads is pulled directly via API – you don't add those here, and they aren't selectable. Use this section for channels without an integration: SEO, email, content, freelancers, affiliates and similar expenses.
Who can manage channel costs
Channel Costs lives in Settings → Channel Costs. The tab only appears for users whose role has the Channel Costs permission. If you don't see it, ask a workspace owner to grant the permission or to make the change for you.
Where to find it
In LeadJourney, open Settings → Channel Costs, or go straight to app.leadjourney.io/settings?slug=channel-costs.
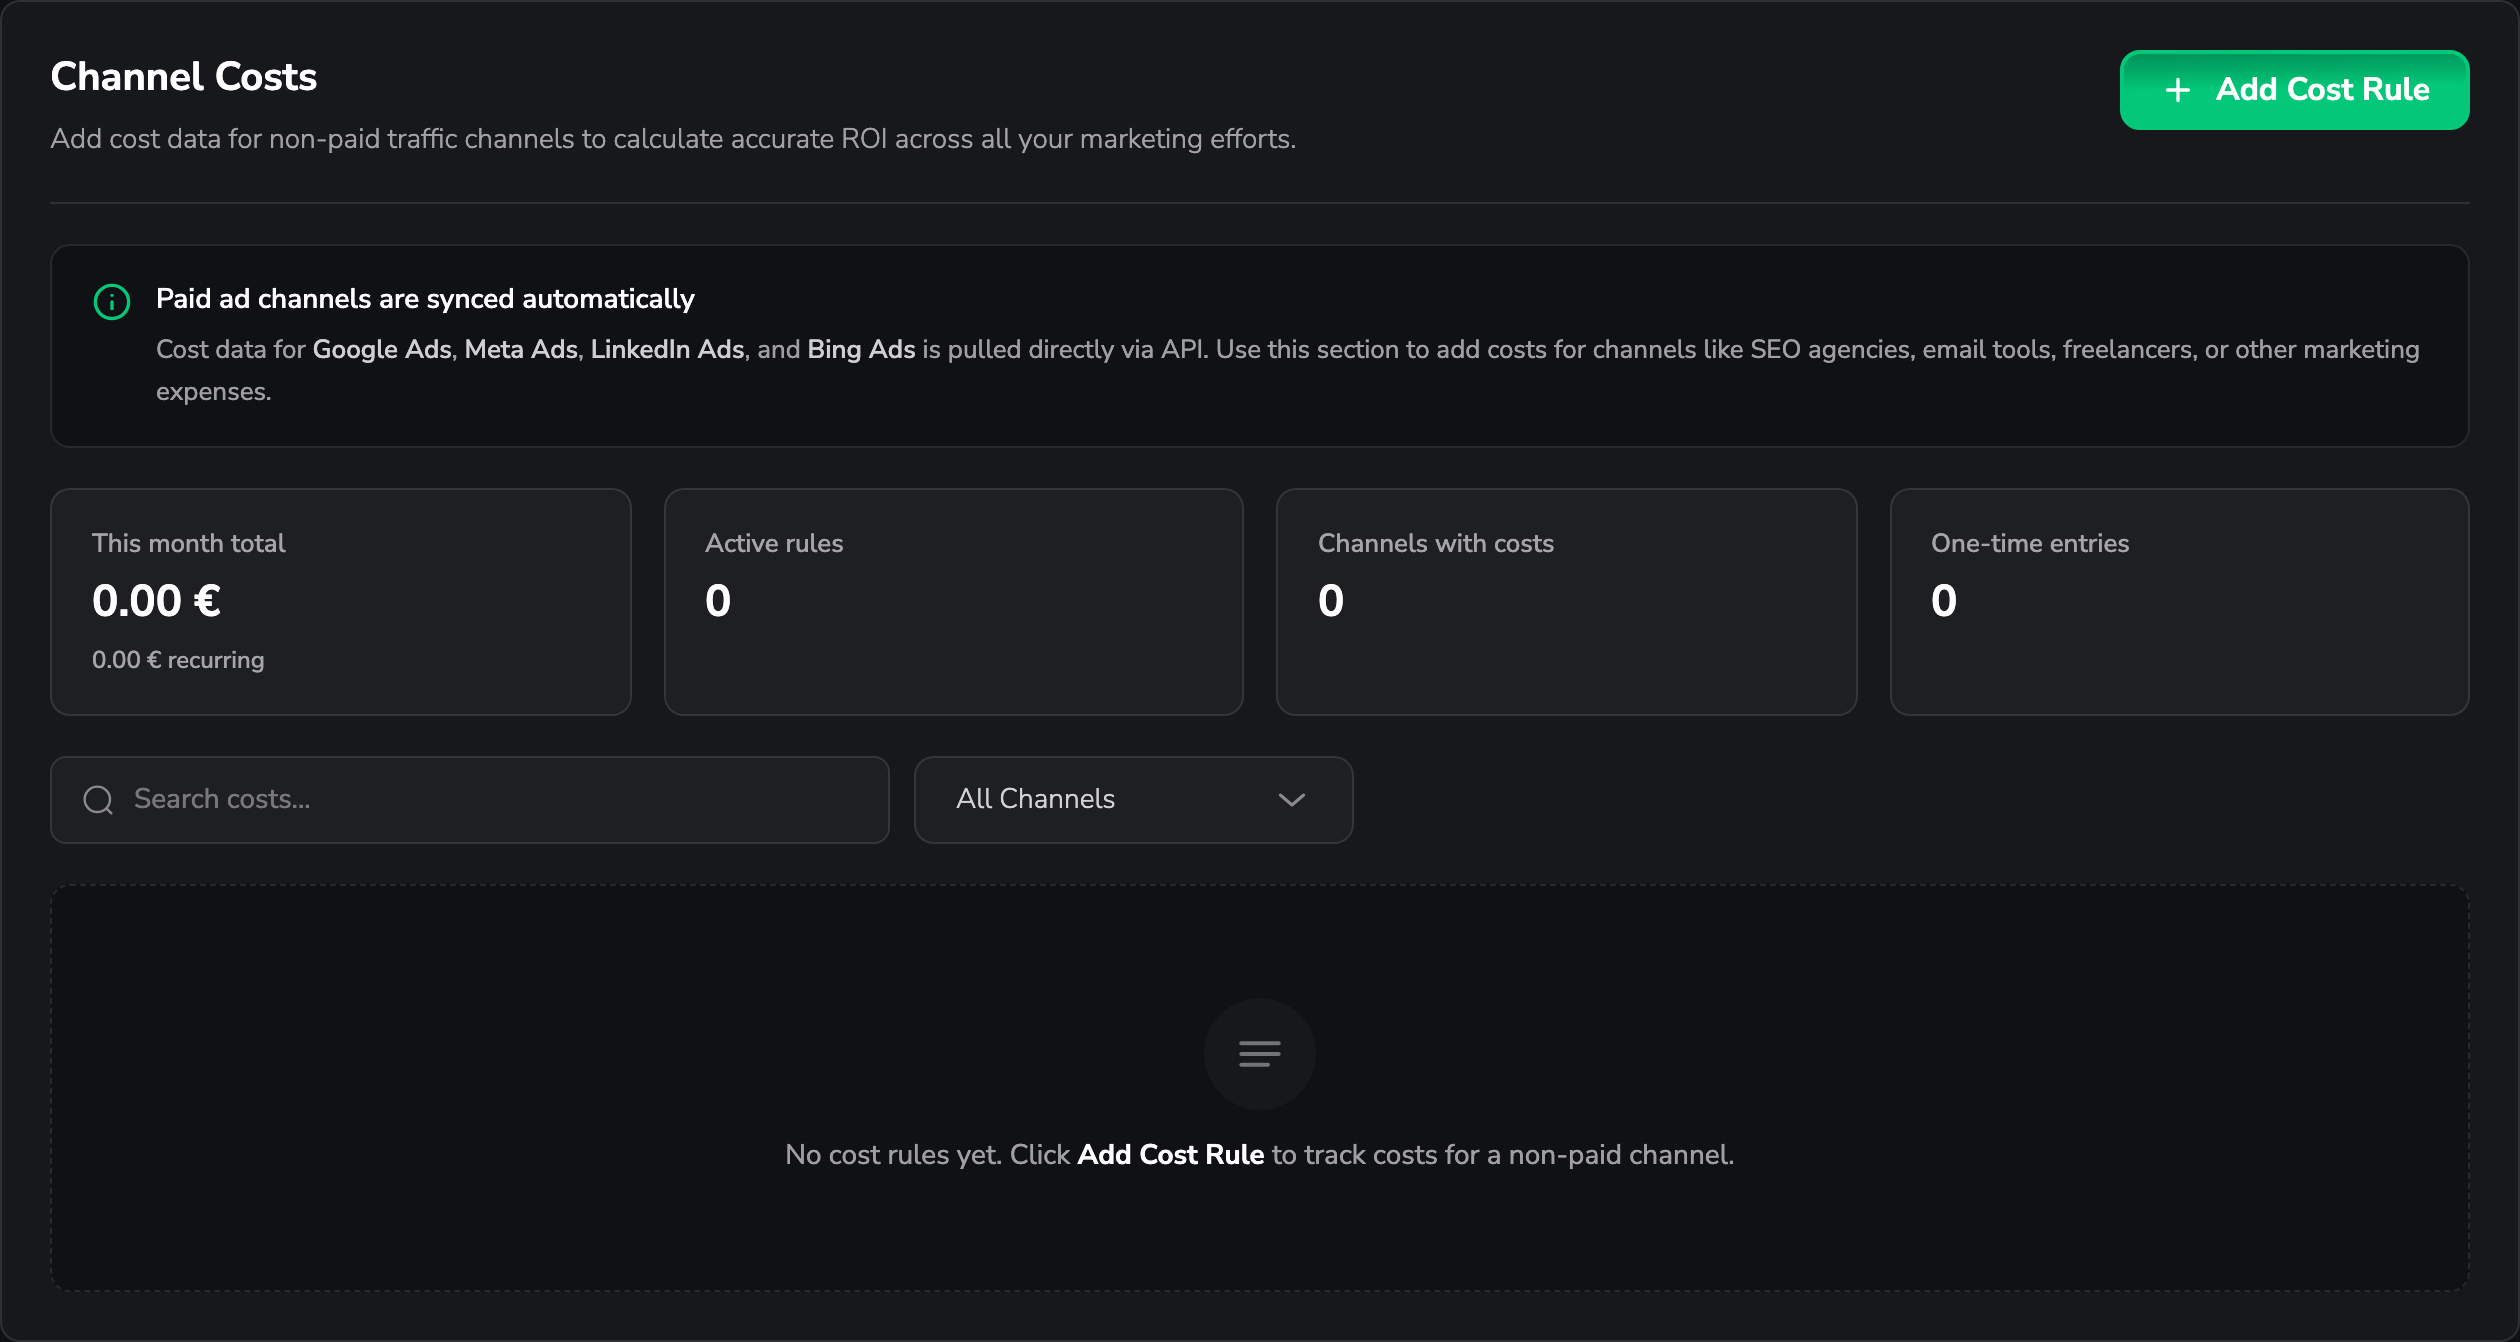
At the top you'll see four quick stats and an Add Cost Rule button:
- This month total – everything attributed to the current month, with the recurring portion shown underneath.
- Active rules – how many cost rules are currently in effect.
- Channels with costs – how many distinct channels have at least one rule.
- One-time entries – how many of your rules are single-month costs.
Below the stats, a searchable table lists every rule with its Channel, Type, Amount, Timeframe and Note. Use the search box or the All Channels filter to narrow a long list.
Add a cost rule
Each entry is a rule: an amount, tied to one or more channels, over a timeframe. A rule can repeat every month or apply to a single month only.
Open the form
Click Add Cost Rule in the top-right corner. The Add Cost Rule dialog opens.
Pick the channel(s)
Choose the traffic channel this cost belongs to – for example Organic Search for an SEO retainer, or Email for your newsletter tool. Start typing to filter the list.
You can add several channels to one rule if a single cost covers more than one source (see Splitting a cost across channels below). Paid ad channels don't appear here – their costs come from the API.
Choose the cost type
- Monthly recurring – the amount applies every month from the start month onward (a retainer, a subscription).
- One-time – the amount applies to a single month only (a one-off project fee).
Enter the amount and timeframe
Type the Amount in your workspace currency, then set the month:
- For a monthly cost, pick a Start month. Leave Ongoing (no end date) ticked for an open-ended cost, or untick it and choose an End month to cap it.
- For a one-time cost, just pick the single Month it falls in.
Backfill past months
Set the Start month in the past to apply a cost to earlier periods. This is how you fill in spend for months before you set the rule up, so historical ROI is correct too.
Add a note and save
Optionally add a Note to remember what the cost is (e.g. "SEO Agency monthly retainer"). Click Add cost rule to save. The new rule appears in the table immediately and starts counting toward your reports.
Amounts use your workspace currency
Costs are entered and shown in your workspace currency. If the symbol looks wrong, set the currency first – see How do I change my workspace currency?
Splitting a cost across channels
Sometimes one invoice covers several channels – an agency that handles both SEO and email, say. Add all the channels to a single rule and choose how LeadJourney should divide the amount between them:
| Split mode | How the amount is divided |
|---|---|
| Auto by traffic share | Proportionally to the clicks each channel drove in the period – channels that brought more traffic carry more of the cost. |
| Equal split | Divided evenly across the selected channels. |
| Custom weights | You set a fixed percentage per channel. The weights must add up to 100%. |
With a single channel there's nothing to split, so the option doesn't appear. When you pick Custom weights, a running Total is shown – you can't save until it equals exactly 100%.
Edit or remove a rule
In the table, use the pencil icon to edit a rule or the trash icon to delete it.
Deleting is permanent – but reports are safe
Removing a rule deletes it from your channel costs going forward. Historical reports stay unchanged – past periods keep the spend that was already attributed. To stop a recurring cost without losing history, edit the rule and set an End month instead of deleting it.
How channel costs show up in your reports
Once a rule is active, its spend is rolled into the channel's figures across your reports and dashboards – feeding cost, cost per lead and ROI for that source. Combined with the spend synced from your ad platforms, this gives you a complete picture of marketing cost across every channel, not just paid ads.
Common questions
Related articles
Custom Metrics
Build your own calculated columns from a formula over LeadJourney's existing metrics – cost per booked call, lead-to-call rate, net profit, anything. Learn how to create a custom metric in the column settings and add it to your reports.
Affiliate
LeadJourney for affiliate marketers – match every click you pay for to the commission the network pays back, and see true ROI per campaign, offer and network. Start here, then set up the four building blocks below.