Features
AI Agents
Atlas AI Agents automate your reporting – they pull a report on a schedule, write an analysis with Atlas, and deliver it to email, Slack or a webhook. Build one from a one-line description or configure every step yourself.
AI Agents turn Atlas – LeadJourney's built-in AI assistant – into a recurring report that runs itself. Instead of opening a report and reading it yourself, you tell an agent which data to look at, what to write about it, and where to send it. The agent then runs on a schedule (or on demand), analyzes your campaign performance with Atlas, and delivers the result to email, Slack or a webhook.
In short
An agent is a saved, repeatable workflow with three steps: Get Data → Generate Report → Send to Destinations. Set it once, and every morning (or week, or month) the finished, written-up report lands in your inbox or Slack channel automatically.
What an agent does
Every agent runs the same three-step pipeline each time it fires:
| Step | What happens |
|---|---|
| 1. Get Data | Pulls a report you choose, for the date range you choose (e.g. yesterday's leads by channel). |
| 2. Generate Report | Atlas analyzes that data using your prompt and writes the insights and recommendations. |
| 3. Send to Destinations | Delivers the finished report to every destination you configured – email, Slack and/or webhook. |
Each time an agent runs, it creates an agent run – a record you can open to see exactly what happened at every step and whether each delivery succeeded.
Before you start
Agents report on the data already in your workspace, so you'll get the most out of them once your tracking and at least one data source are live – ad integrations, the tracking script and events. To deliver to Slack, connect a Slack workspace first (see Atlas settings below).
Where to find it
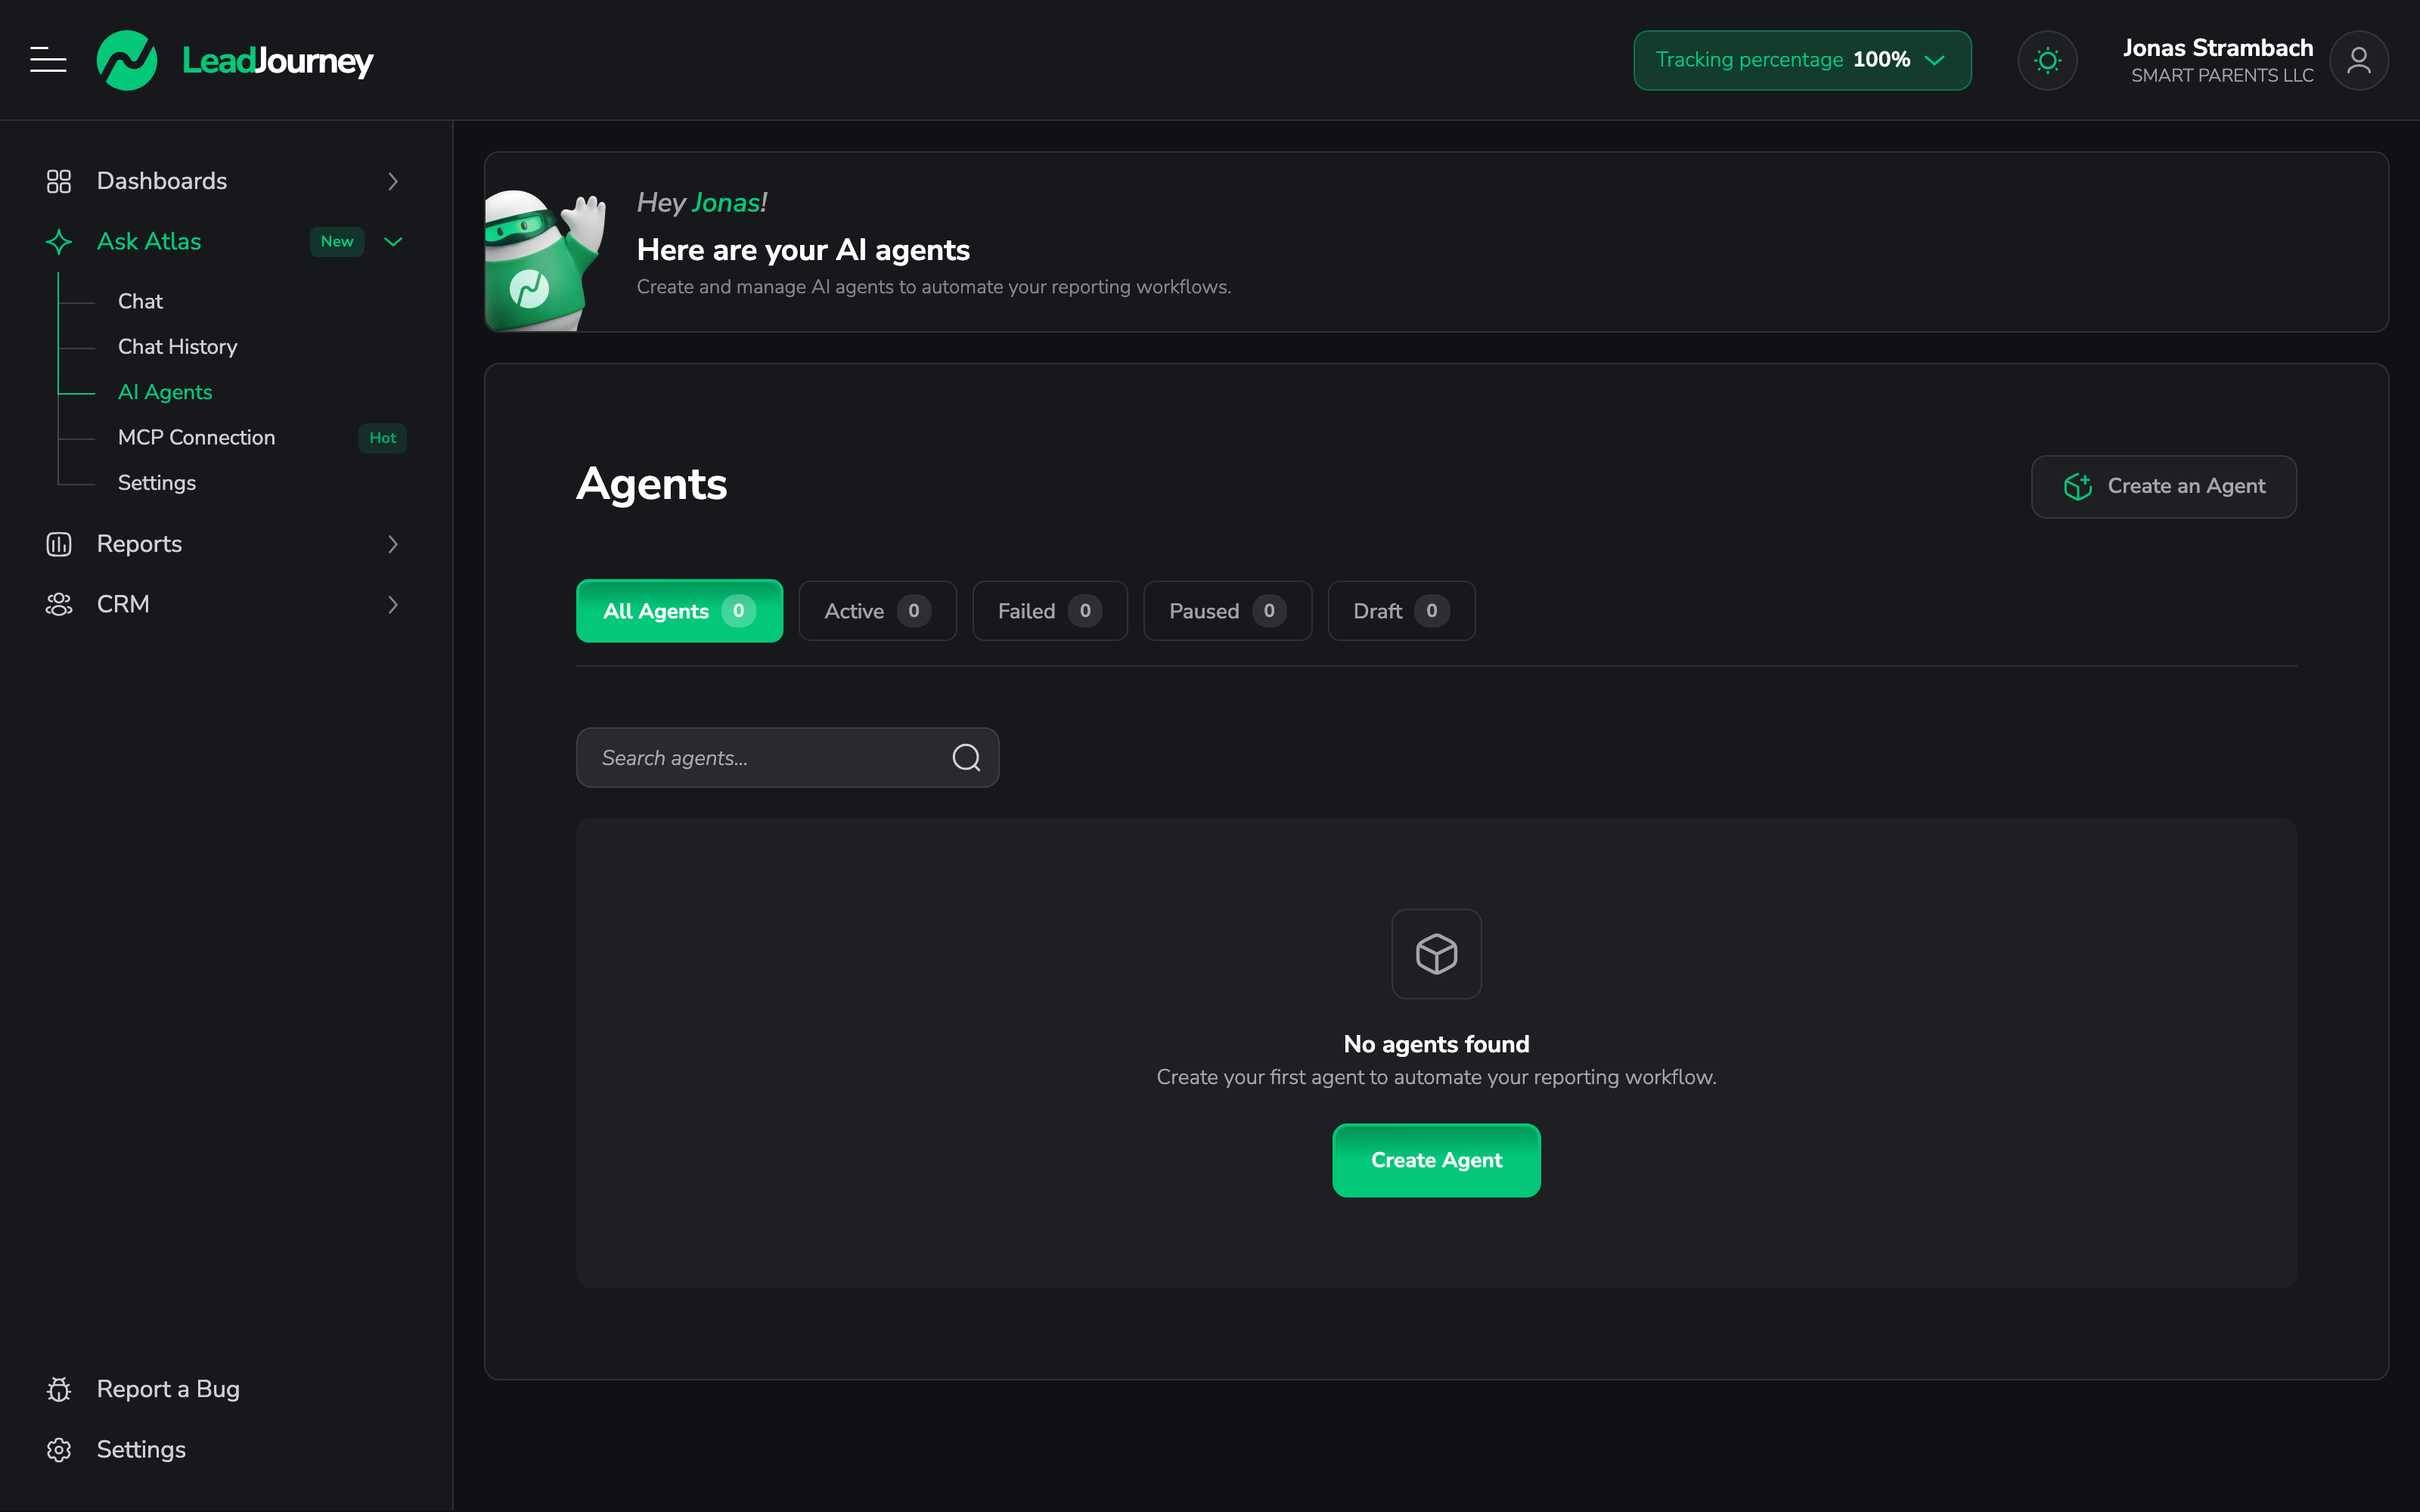
In LeadJourney, open Ask Atlas → AI Agents in the left sidebar, or go straight to app.leadjourney.io/?slug=agents. "Ask Atlas" also contains Chat, Chat History and Settings – Agents is where the automated, scheduled work lives.
The Agents overview
The Agents screen lists every agent you've built. At the top you can filter by status – All Agents, Active, Failed, Paused, Draft – and search agents… by name or description. Each row shows the agent's name and description plus four columns:
- Status – the agent's current state (see the table below).
- Schedule – its cadence and time, e.g. daily @ 09:00, or Manual if it only runs when you trigger it.
- Last Run – when it last executed (or Never).
- Next Run – the next scheduled execution, with timezone.
Agent status
| Status | Meaning |
|---|---|
| Active | Enabled – the agent runs automatically on its schedule. |
| Paused | Disabled – it won't run on schedule, but you can still run it manually. |
| Draft | Not yet live – saved but not scheduled or activated. |
| Failed | Its last run hit an error. Open the run to see what went wrong. |
Row actions
Each agent has a row of quick actions:
- Run now – execute the agent immediately; you're taken to the run as it happens.
- Edit – open the agent in the editor.
- Pause / Activate – flip the agent between Active and Paused.
- View Runs – open this agent's run history.
- Delete – remove the agent permanently (with a confirmation prompt).
Create an agent
Click Create an Agent. You're offered two ways to set it up:
Describe the agent you want in one line and Atlas configures every step for you – data source, prompt, schedule and destination – which you can then review and tweak before saving. Try something like:
- "Daily Meta Ads performance summary, sent to email at 9am every weekday"
- "Weekly Slack report on top campaigns by ROAS"
- "Monthly landing page performance overview, emailed on the 1st"
- "Yesterday's leads by traffic channel, emailed every morning"
This is the fastest way to start. Atlas fills in the whole form with sensible defaults; everything it picks is still editable, so treat it as a head start rather than a black box.
Fill in the form yourself and set every option. This is the same form Atlas pre-fills, so you can also start with Build with Atlas AI and switch to manual editing at any point. The sections below walk through each step.
Configure the agent
Whether you started from a description or from scratch, the agent is defined by a name, a status, and the three pipeline steps – plus an optional schedule.
Name it
Give the agent a clear Agent Name (e.g. Daily Performance Report) and set its Status – Draft while you're still building, Active once you want it to run on schedule.
Step 1 – Get Data
Choose what the agent pulls:
- Report source – which report to run (campaigns, leads by channel, landing pages, …).
- Date range – Today, Yesterday, This Week, Last Week, This Month, Last Month or a custom range. This is relative, so Yesterday always means the day before each run.
- Compare to (optional) – add a comparison: Previous Period or Same Period Last Year, so the report can talk about change, not just absolute numbers.
You can also narrow the data with filters such as traffic channel or attribution method, exactly as you would when reading the report by hand.
Step 2 – Generate Report
Tell Atlas what to write:
- Prompt – the instruction for the analysis, e.g. "Analyze my campaign performance and provide actionable insights. Focus on ROI, top performers, and areas for improvement."
- Design Guidelines (optional) – how to format and present it, e.g. "Use bullet points, include percentages, focus on ROI metrics."
The clearer your prompt, the more useful and consistent the output. Think of it as briefing an analyst who will run this same report for you every time.
Step 3 – Send to Destinations
Pick one or more places to deliver the finished report. You can enable several at once:
Add one or more recipients (email address, plus an optional name). You can also choose to include performance insights and include recommendations for improvement in the message. Each recipient gets the written-up report in their inbox.
Pick a connected Slack workspace and a channel (public or private), and Atlas posts the report there. Options include rich Slack block formatting, a "View full report" link back to LeadJourney, and an optional message prefix (e.g. "Good morning! Here's your daily report:").
Slack only appears if you've connected a Slack workspace to Atlas. If it's greyed out as "No Slack workspace connected", connect one first in Atlas → Settings → Slack.
Send the report to any webhook URL as an HTTP request – useful for piping it into your own systems. You can set a chunk size (for large reports) and add custom headers (e.g. an authorization token) as key/value pairs.
Schedule (optional)
Turn on Schedule to make the agent run automatically. Choose a frequency – Daily, Weekly or Monthly – a time, and a timezone. For Weekly you pick the days of the week; for Monthly you pick the days of the month. Leave the schedule off and the agent only runs when you click Run now.
Save
Click Save Agent (or Update Agent when editing). If you set the status to Active with a schedule, it starts running on its next scheduled time. When editing an existing agent you can also click Execute Agent to run it right away and check the output.
Run and monitor agents
You don't have to wait for the schedule. Hit Run now on any agent (or Execute Agent in the editor) to fire it immediately.
Every execution is recorded under View Runs. The run history lists each run with its:
- Status – Pending, Running, Completed, Failed, or Partial (some destinations delivered, some didn't).
- Trigger – how it started: Manual, Scheduled or API.
- Steps – progress through the three steps (e.g. 2 / 3).
- Started – when it ran.
Open any run for the Run Details: the duration, the status of each of the three steps (Get Data → Generate Report → Send to Destinations), and a per-destination breakdown showing exactly what was sent and to whom – the email subject and recipients, the Slack channel and message, or the webhook URL and payload. If anything failed, the precise error message is shown there so you can fix it and re-run.
Settings that affect agents
A few workspace-level Atlas settings shape how your agents behave. Find them under Ask Atlas → Settings:
- Default model – which Atlas (Claude) model writes your reports. Standard is balanced; Fast is best when you just need a quick lookup. Premium models may require a plan upgrade.
- Goals – describe your marketing goals, KPIs and targets so Atlas tailors its insights and recommendations to what you actually care about.
- Slack – connect a Slack workspace so agents (and Atlas chat) can post to your channels.
- MCP – connect external AI tools to LeadJourney. See Connect via MCP.
Troubleshooting
An agent run failed or only partly delivered
Open the agent's runs, then the failing run, and read the error message for the step or destination that failed. Common causes: a webhook URL that's unreachable, a Slack channel the app was removed from, or a report source with no data for that date range. Fix the cause, then use Run now to test again.
The agent isn't running on schedule
Check that its status is Active (not Draft or Paused) and that the Schedule toggle is on with a frequency, time and timezone set. The Next Run column on the Agents list shows when it will fire next – if it's blank, the schedule isn't fully configured.
Related articles
Ask Atlas (AI chat)
Atlas is the AI assistant built into LeadJourney. Ask about your campaigns, leads and traffic in plain English – Atlas reads your workspace data and answers with numbers, tables and follow-ups. Use the full Chat page or the floating widget on any screen.
Atlas Settings
Tune the Atlas AI assistant for your workspace – give it your marketing goals, choose which model it uses, and connect it to MCP clients and Slack.