Integrations
Connect via MCP (Model Context Protocol)
Connect Claude, Cursor, ChatGPT, VS Code, or any MCP-compatible client to LeadJourney over the Model Context Protocol, so you can query your workspaces, reports, and leads in plain language. Per-app OAuth, revoke any time.
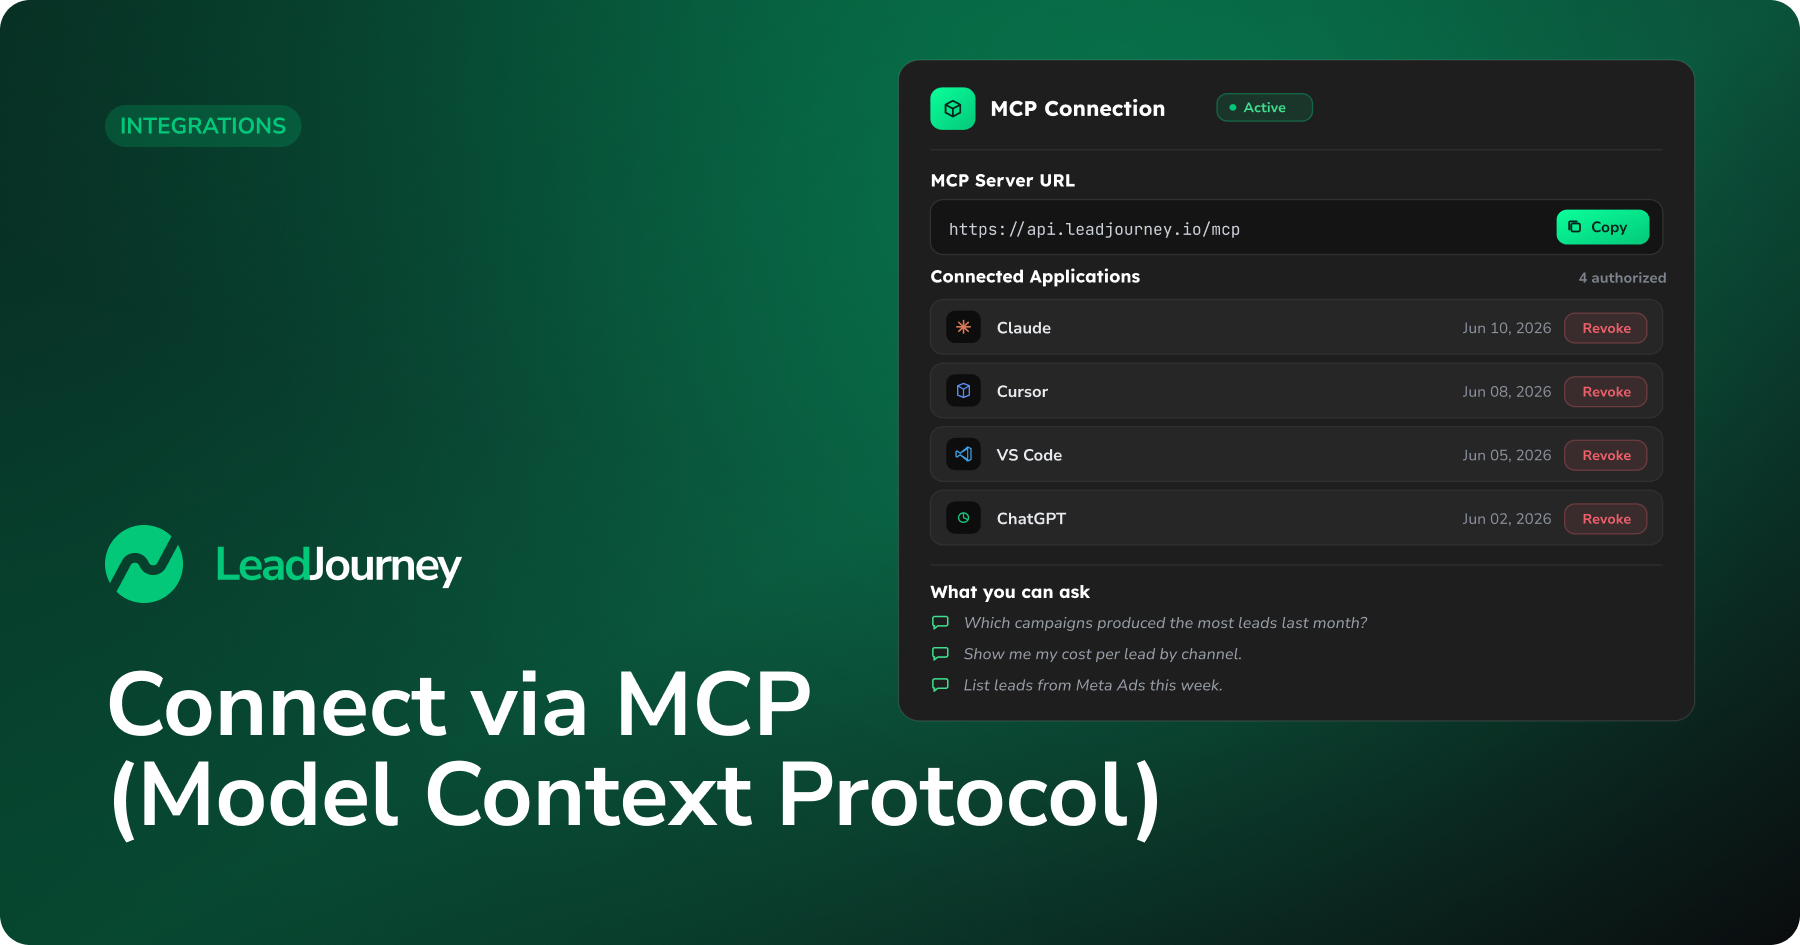
The Model Context Protocol (MCP) connection turns LeadJourney into a data source your AI tools can read. Connect Claude, Cursor, ChatGPT, VS Code, or any MCP-compatible client, and you can ask it about your workspaces, reports, and leads in plain language – the client reads the answers straight from LeadJourney.
Every client connects to one server URL and authorizes through OAuth, so you sign in with your normal LeadJourney login and never paste an API key anywhere. Access is granted per application, and you can revoke any connected app instantly.
Before you start
You'll need an active LeadJourney account and an MCP client that supports remote (custom) connectors with OAuth. Some clients require a paid plan or a "developer mode" toggle to add custom connectors – see your client below.
Where to find it
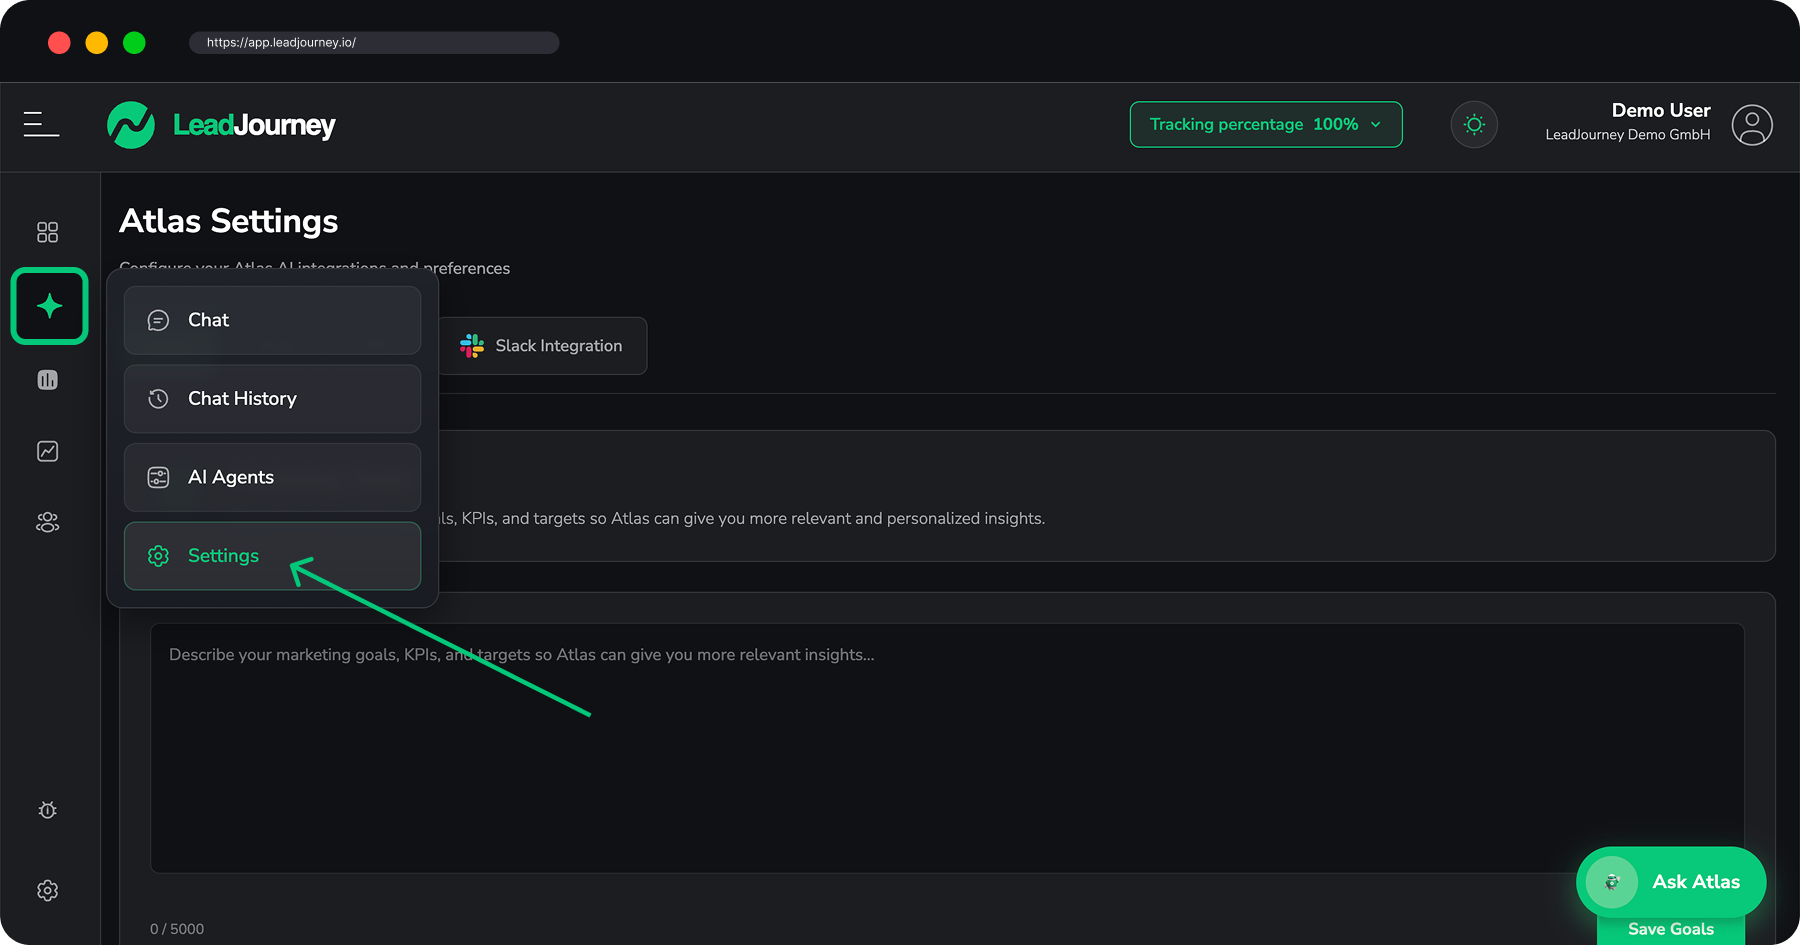
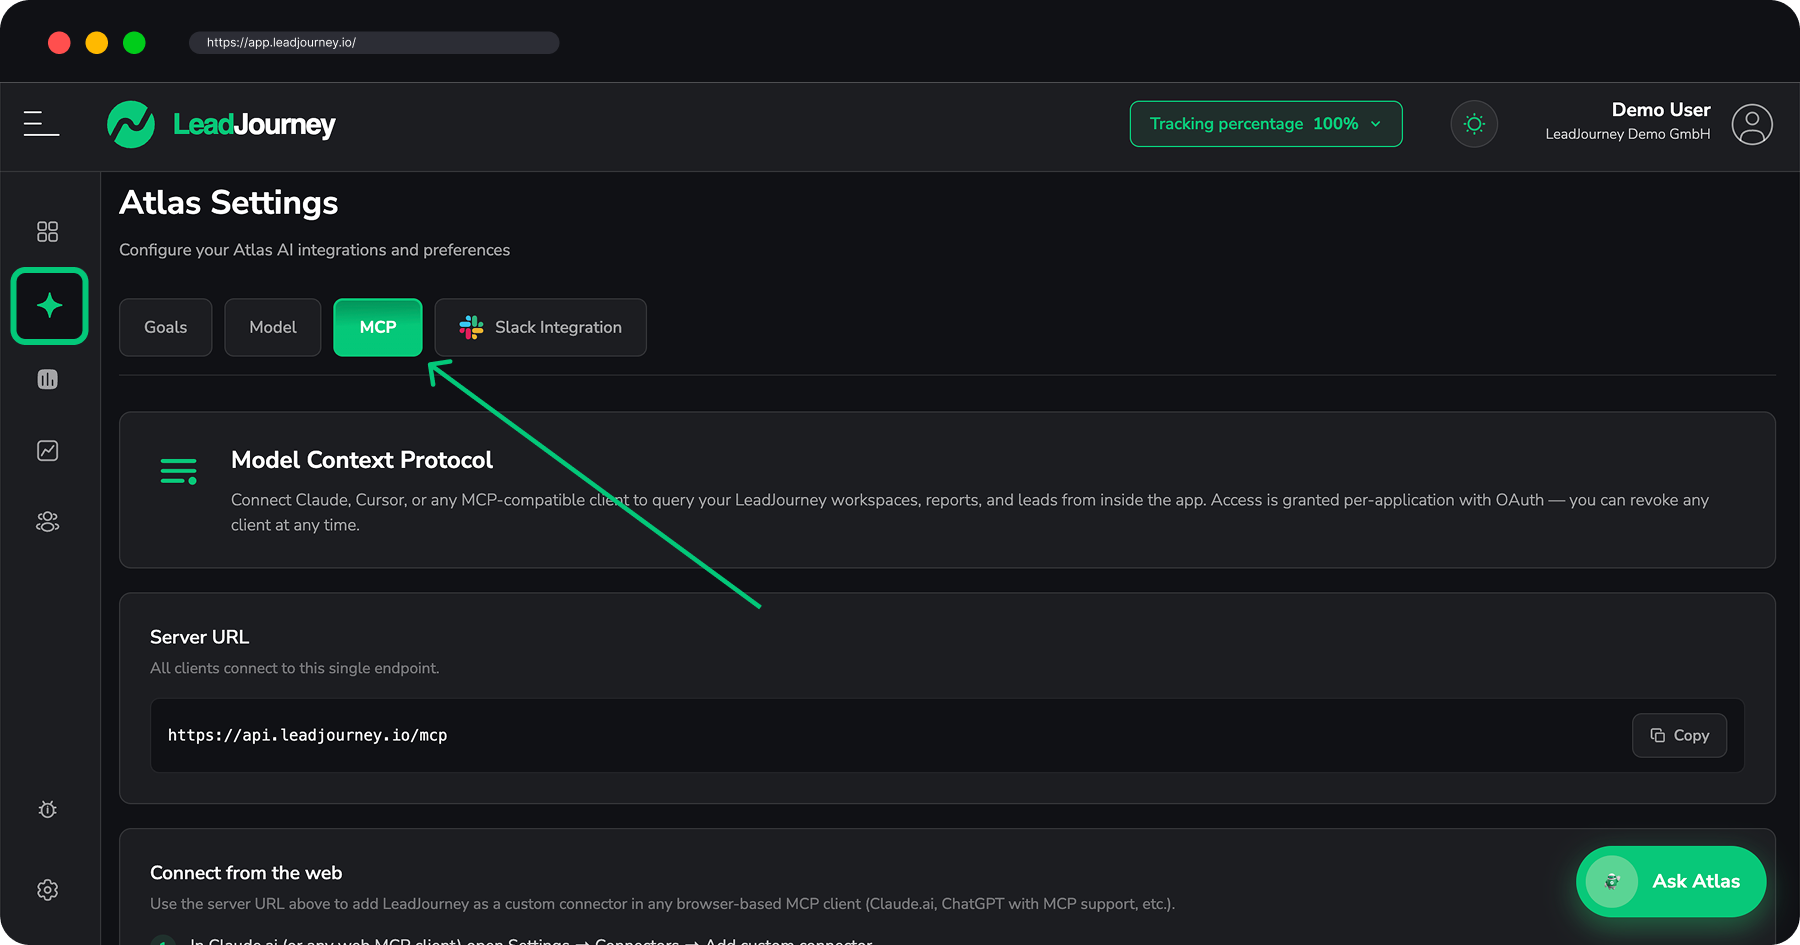
In LeadJourney, open Atlas Settings → MCP. The MCP tab holds three things: the Server URL, short setup instructions, and the list of Connected applications you've authorized.
The server URL
All clients connect to the same single endpoint:
https://api.leadjourney.io/mcpCopy it from the app
Always copy the exact URL shown on the MCP tab – click Copy next to the Server URL. That guarantees you're using the right endpoint for your account, even if it ever changes.
How the connection works
Connecting any client follows the same OAuth flow:
Add LeadJourney as a custom connector
In your MCP client, add a new custom / remote connector and paste the server URL
(https://api.leadjourney.io/mcp) as the endpoint. The exact steps per client are below.
Sign in and authorize
Your browser opens the LeadJourney authorize screen. Sign in with your normal LeadJourney credentials and click Authorize to grant the client access.
You're connected
Once authorized, the client can call LeadJourney, and the app appears under Connected applications on the MCP tab. You can revoke it there at any time.
Connect your client
Pick your tool. The menu names can differ slightly between versions, so if something has moved, the in-app MCP tab is the source of truth.
- Open Settings → Connectors and click Add custom connector.
- Give it a name (e.g. LeadJourney) and paste the server URL:
https://api.leadjourney.io/mcp. - Click Add / Connect. A browser tab opens the LeadJourney authorize screen – sign in and click Authorize.
- Back in Claude, enable the LeadJourney connector for your chat and start asking questions.
On individual plans, adding custom connectors may require turning on Developer Mode (Settings → and enable developer/custom-connector access). On Team/Enterprise, an admin adds the connector for the organization.
- Open Settings → Connectors and click Add custom connector.
- Enter a name and paste the server URL:
https://api.leadjourney.io/mcp. - Click Add. Your browser opens the LeadJourney authorize screen – sign in and click Authorize.
- The connector turns active and its LeadJourney tools become available in your chats.
Claude Desktop adds remote servers through the Connectors UI (not by editing a config
file). Use the desktop app's connector dialog rather than claude_desktop_config.json for
this HTTPS endpoint.
Add LeadJourney as an HTTP MCP server from your terminal:
claude mcp add --transport http leadjourney https://api.leadjourney.io/mcpThen start (or restart) Claude Code and authenticate:
- Run
/mcpinside the session. - Select leadjourney and choose Authenticate.
- Your browser opens the LeadJourney authorize screen – sign in and click Authorize.
- The server shows ✓ Connected. Verify any time with
claude mcp list.
Add --scope user to make the server available across all your projects, or
--scope project to share it with your team via a committed .mcp.json. The default scope
is local to the current project.
- Open Settings → MCP → Add new MCP server, or edit
.cursor/mcp.jsondirectly. - Add LeadJourney as a remote server:
{
  "mcpServers": {
    "leadjourney": {
      "url": "https://api.leadjourney.io/mcp"
    }
  }
}- Cursor detects the server and prompts you to sign in – your browser opens the LeadJourney authorize screen. Sign in and click Authorize.
- The server shows as connected in Settings → MCP, with its LeadJourney tools listed.
In VS Code with GitHub Copilot agent mode, create or edit .vscode/mcp.json in your
workspace:
{
  "servers": {
    "leadjourney": {
      "type": "http",
      "url": "https://api.leadjourney.io/mcp"
    }
  }
}
When VS Code starts the server it prompts you to sign in – your browser opens the LeadJourney authorize screen. Sign in and click Authorize. The LeadJourney tools then appear in Copilot's agent mode tool list. (Requires VS Code 1.99 or later.)
- Open Settings → Connectors (Apps) and add a new connector.
- Enter a name and paste the MCP server URL:
https://api.leadjourney.io/mcp. - Choose OAuth as the authentication type and save.
- Complete the sign-in in your browser, then enable the connector so it's active in your chats.
Adding custom MCP connectors in ChatGPT requires a plan that supports it (e.g. Plus/Pro/Enterprise) and developer mode enabled. The exact menu names change often – if something looks different, follow ChatGPT's current connector flow and paste the same server URL.
What you can ask once connected
With LeadJourney connected, your client can answer questions using your live data, for example:
- "Which campaigns produced the most leads last month?"
- "Show me my cost per lead by channel this quarter."
- "List the leads that came in from Meta Ads this week."
- "Compare won revenue across my workspaces."
The client only sees what your account can see, and every request is tied to the application you authorized.
Managing connected applications
The Connected applications list on the MCP tab shows every client you've authorized and when. To cut off a client, click Revoke next to it – access stops immediately.
Revoking is instant
When you revoke an application, it loses access to your workspaces, reports, and leads right away. You can re-authorize it later by adding the connector again and completing the OAuth flow.
Troubleshooting
Client can't connect or won't show the tools?
Check that (1) you pasted the exact server URL from the MCP tab
(https://api.leadjourney.io/mcp, no trailing slash), (2) your client supports remote
connectors with OAuth (and developer/custom-connector mode is on if it needs it), and (3)
you completed the Authorize step in the browser. After authorizing, the app should show
up under Connected applications.
Related articles
Connect Google BigQuery
Stream LeadJourney clicks, conversions and leads into a BigQuery dataset you own with a service account key, backfill past data, and read the tables from Looker Studio, Power BI or Tableau.
Connect Slack (Atlas AI)
Install the Atlas AI Slack app and connect channels so your team can @mention Atlas in Slack to ask about leads, campaigns, and marketing performance.