Integrations
Connect Stripe
Connect your Stripe account in minutes – no API keys, no webhooks to wire by hand. Authorize once, then map Stripe events like successful payments, subscriptions and refunds straight onto your conversions.
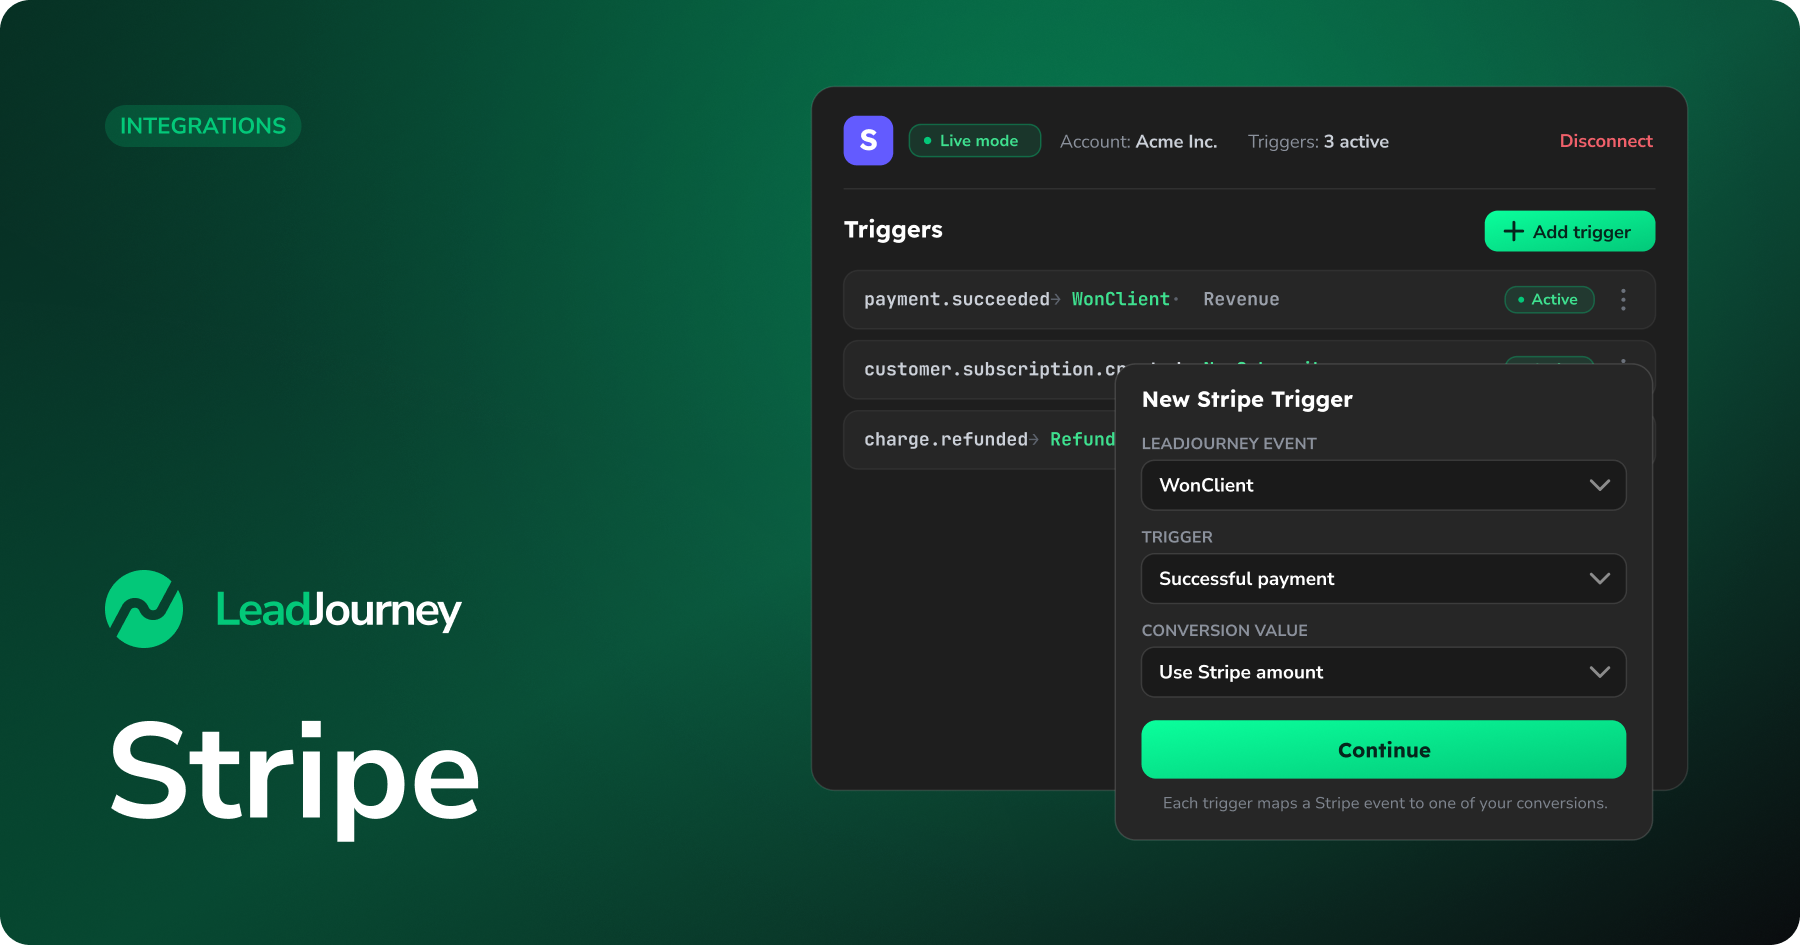
Connecting Stripe turns real money events – payments, subscriptions, refunds, new customers – into LeadJourney conversions, automatically attributed to the campaign, ad set and ad that earned them. You authorize Stripe once (no keys to copy, no scopes to tick), then map each Stripe event onto one of your conversion types. Mapped events flow through the same postback pipeline as your offline conversions, so they automatically pick up every ad postback you've already configured.
Before you start
Have these ready so the connection works end to end:
- An active LeadJourney workspace and a Stripe account you can sign in to.
- Tracking is live – clicks have to be recorded first so payments can be matched back to a campaign. See Install the tracking script.
- At least one conversion type to map onto (e.g.
WonClient). Set these up first in the Events Manager.
Where to find it
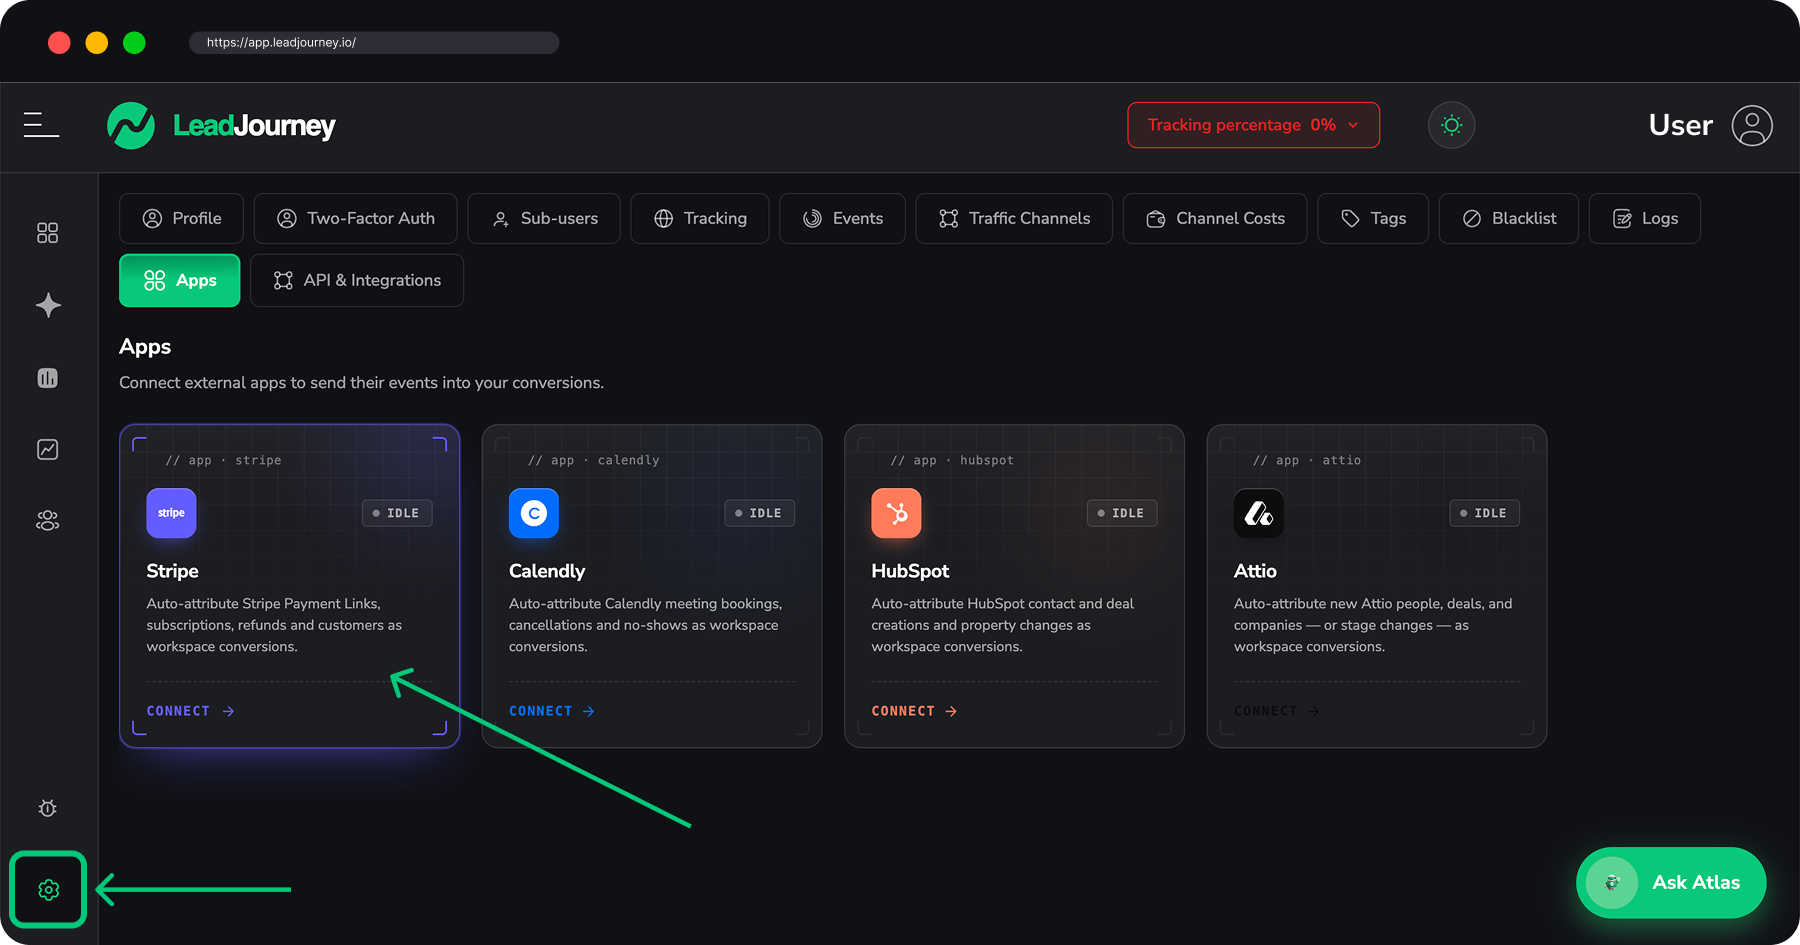
Open Settings → Apps, or go to
app.leadjourney.io/settings?slug=apps. Click
the Stripe card to open the integration (or use ?slug=apps&app=stripe). While you're
not connected you'll see a “Connect your Stripe account” card; once connected, the same screen shows your account,
mode and triggers.
Step by step
Authorize LeadJourney from Stripe
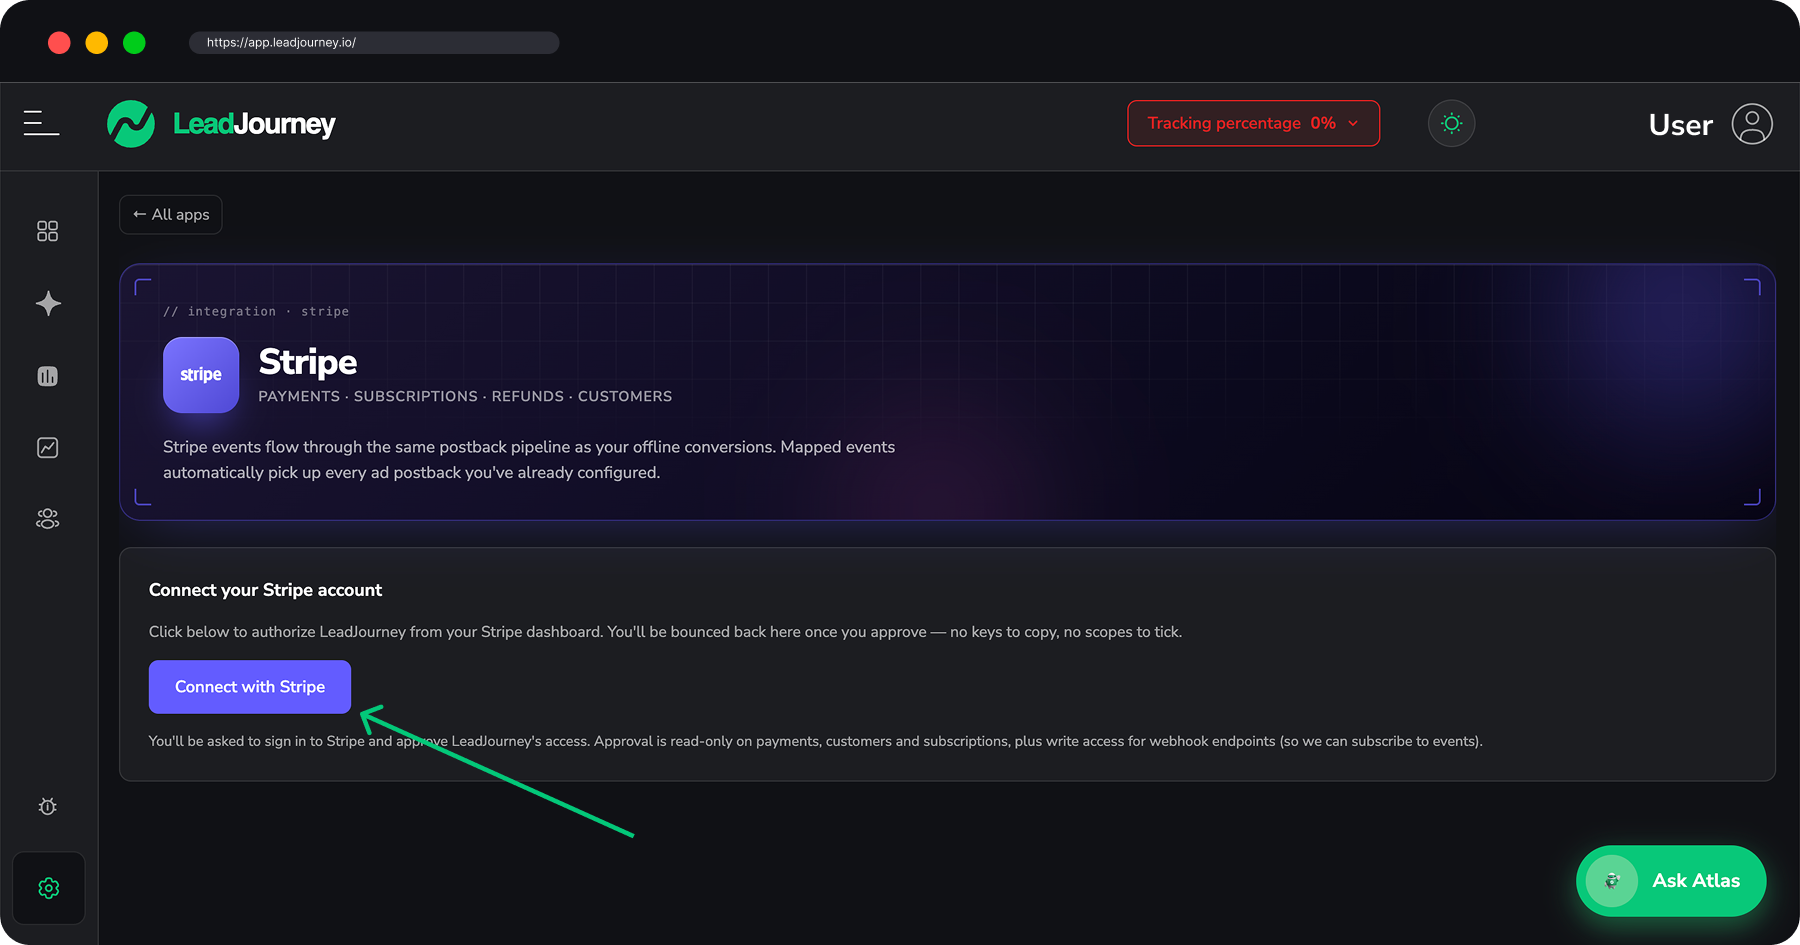
On the Connect your Stripe account card, click Connect with Stripe. You'll be redirected to Stripe to sign in and approve LeadJourney's access.
The grant is read-only on your payments, customers and subscriptions, plus write access for webhook endpoints (so LeadJourney can subscribe to the events you choose) – there are no keys to copy and no scopes to tick. After you approve, Stripe sends you back and you'll see a “Stripe connected” confirmation.
Syncing starts when you connect
LeadJourney tracks new Stripe payments from the moment you connect. Data from before the connection is not imported.
Check the connection details
Once connected, the header shows a Live mode or Test mode pill, plus Re-authorize and Disconnect buttons. Below it you'll see the Connection status, your Account name and ID, Active triggers (active out of total) and the Connected since date. Re-authorize re-runs the authorization to refresh granted permissions; your triggers and settings are kept.
Live vs. Test mode
The mode mirrors the Stripe credentials you authorized with. Test mode is great for a dry run; switch to a Live mode connection when you want real payments to count as conversions.
Add a trigger
In the Triggers panel (“Each trigger maps a Stripe event to one of your conversions.”) click Add trigger. In the New Stripe trigger dialog:
- App: Stripe (already selected).
- LeadJourney Event: pick the conversion type this Stripe event should record, e.g.
WonClient. (No options? Create one under Settings → Events first.) - Trigger: choose the Stripe event that should fire it from the card grid, such as a successful payment, a new subscription or a refund. Search triggers… narrows the list.
Click Continue.
Triggers map to your conversion types
A trigger connects one Stripe event to one conversion type. To send revenue, map a payment event (e.g. payment succeeded) to a revenue conversion like WonClient; to net out a chargeback, map a refund to a refund event. See Events & the Events Manager for how conversion types work.
Receive data and confirm the mapping
The dialog opens a three-tab flow:
- Receive Data: click Find latest data to pull recent records for the event you picked. If nothing appears, fire a test event in Stripe (a real or test payment) and check again, then select a record and click Continue with selected record.
- Configure Mapping: map the Stripe record onto LeadJourney columns. New triggers start
with Email, Name, Phone, click_id, Revenue and Currency;
click_idis pre-filled fromclient_reference_idwhen the record carries it. Select several paths to join them with a space, or type a path orstatic:valueand press Enter. Add custom field brings back a removed column or adds one of your workspace's custom fields, and Create new field creates one (type Text, Number or Currency). Mappingclick_idis recommended but optional (see the callout below). - Filtering (optional): click Add Another Filter and add conditions (e.g. amount equals a value, or a field contains some text) so the trigger only fires for matching events. Each filter is tested against the record you selected and shows PASS or FAIL.
Save & Continue takes you from the mapping to the filters. Click Activate to finish (Save trigger when editing), or Save and continue later to keep your progress.
Why payments link to the right campaign automatically
LeadJourney's tracking script decorates your Stripe Payment Links (buy.stripe.com)
with client_reference_id, which carries the visitor's click ID into Stripe. So when
the payment succeeds, LeadJourney already knows which click – and therefore which campaign,
ad set and ad – earned it, without you mapping click_id by hand. Just make sure your
checkout uses LeadJourney-decorated Payment Links.
Managing your triggers
Each trigger appears as a row – Stripe event → conversion type – with an Active / Paused pill and a summary of how many fields and filters it uses.
- Pause / Resume: use the toggle to stop a trigger temporarily without deleting it.
- Edit: change the event, mapping, filters or target conversion. The URL gets a
trigger_idparameter, so you can share a link that opens that trigger directly. - Delete: type
deleteand click Delete trigger. The mapping and filters can't be recovered; other triggers keep running. - Add another: use Add trigger again to map more Stripe events (payments, subscriptions, refunds, new customers) onto different conversions.
Disconnecting
To remove Stripe, click Disconnect in the header, type disconnect and confirm with
Disconnect Stripe. This is deliberate because it's destructive:
Disconnect deletes your triggers
Disconnecting permanently removes the Stripe connection and deletes every trigger. Stripe events stop flowing into your conversions immediately. You can reconnect later, but your trigger configuration won't be restored – you'll set them up again.
Troubleshooting
No records when you click “Find latest data”?
Nothing has happened in Stripe for that event type yet. Create a fresh event (a real or test-mode payment, subscription or refund), then click Find latest data again. The matching record should appear so you can finish the mapping.
Payments come in but aren't attributed to a campaign?
LeadJourney needs to know which click the payment belongs to. Check that (1) the
tracking script is installed and recording clicks, (2) your checkout uses
LeadJourney-decorated Payment Links (so client_reference_id carries the click ID),
and (3) the trigger is Active. As a fallback you can map click_id, email or
phone explicitly on the Configure Mapping tab.
Related articles
Connect Patch Retention
Connect Patch Retention with an API token, turn purchases, check-ins, bookings and form submissions into attributed conversions, and push LeadJourney guests and events back into Patch.
Connect Shopify
Connect your Shopify store with the LeadJourney app, switch on the tracking embed in your theme, then map orders, refunds and checkouts onto your conversions so every sale is attributed to the ad that drove it.